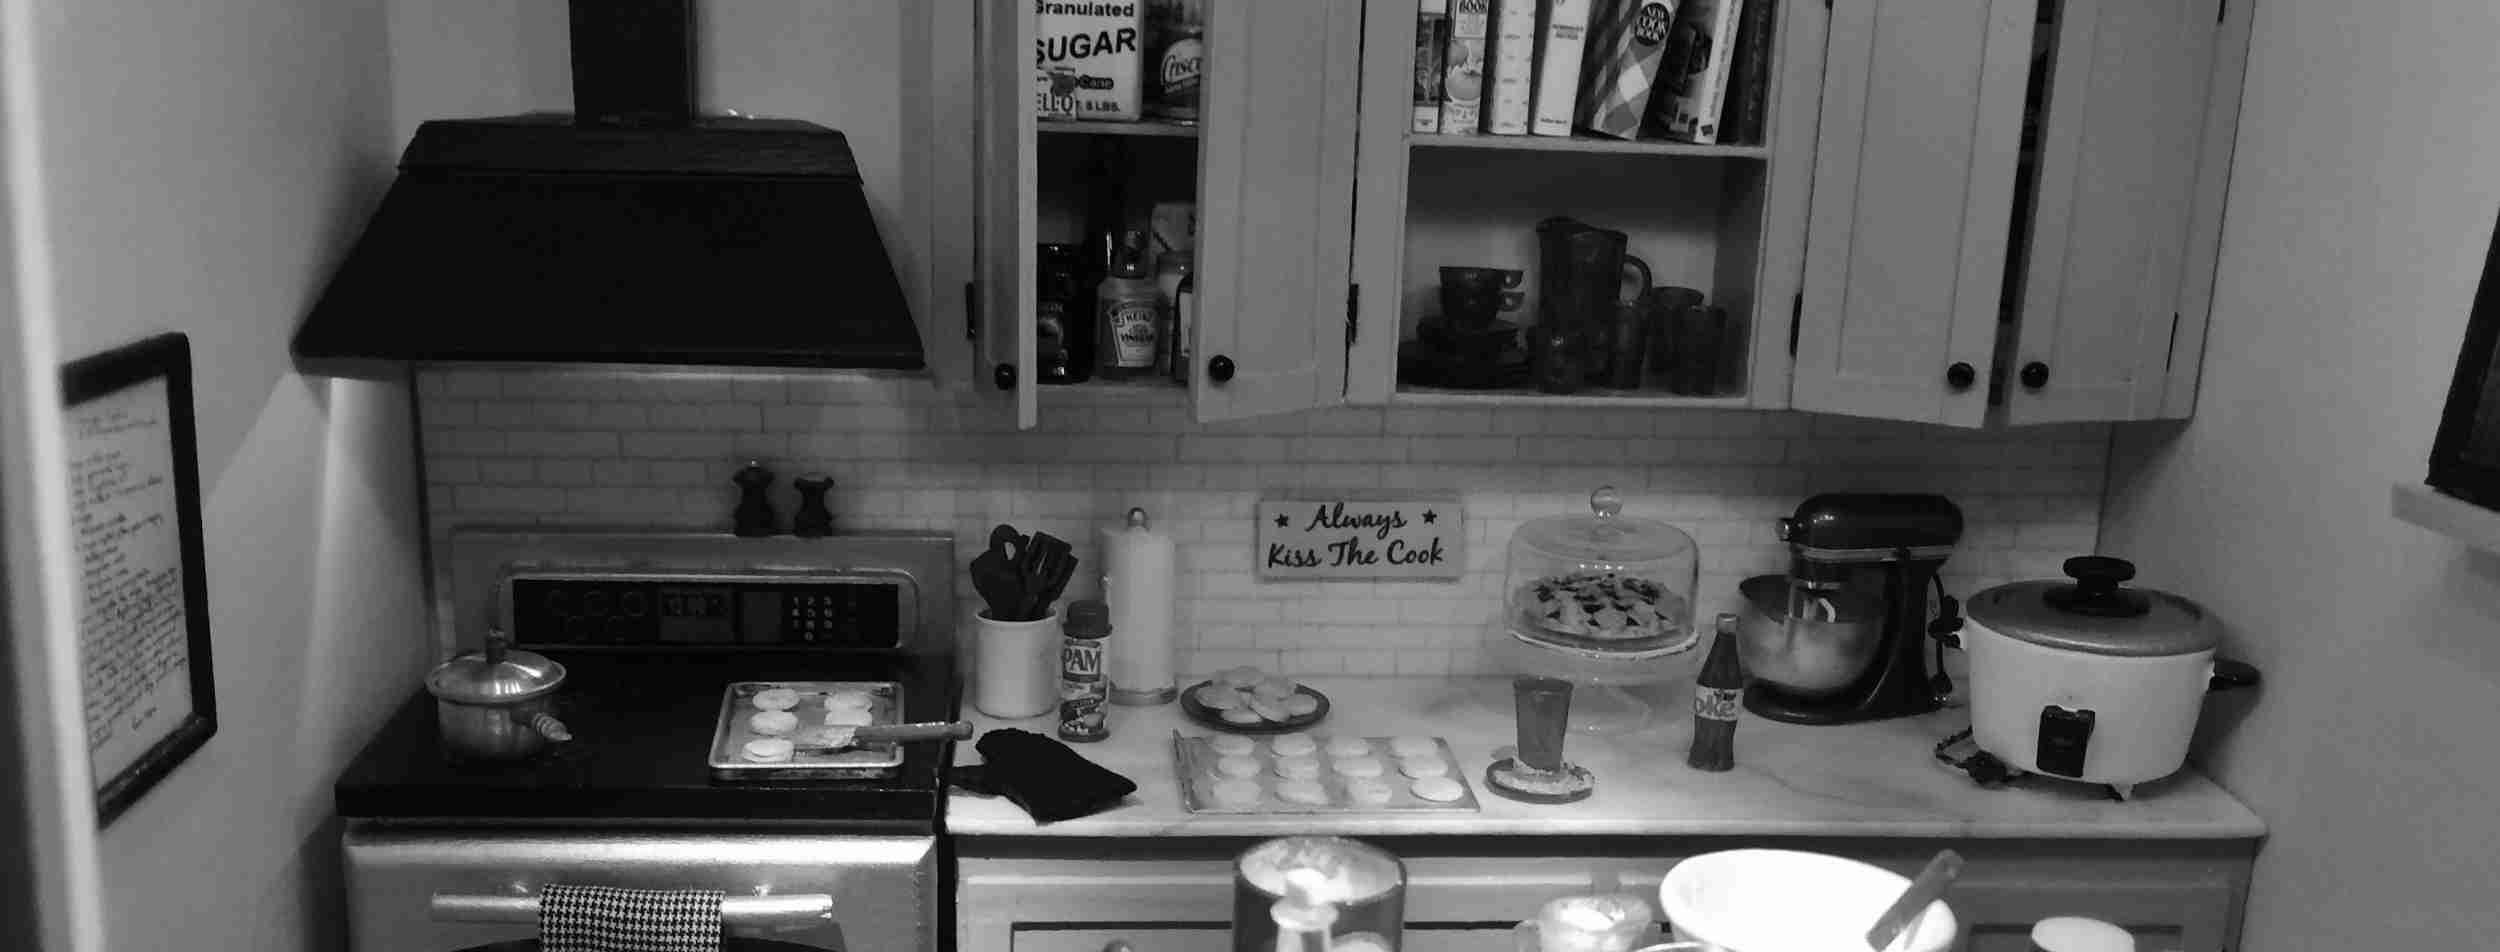
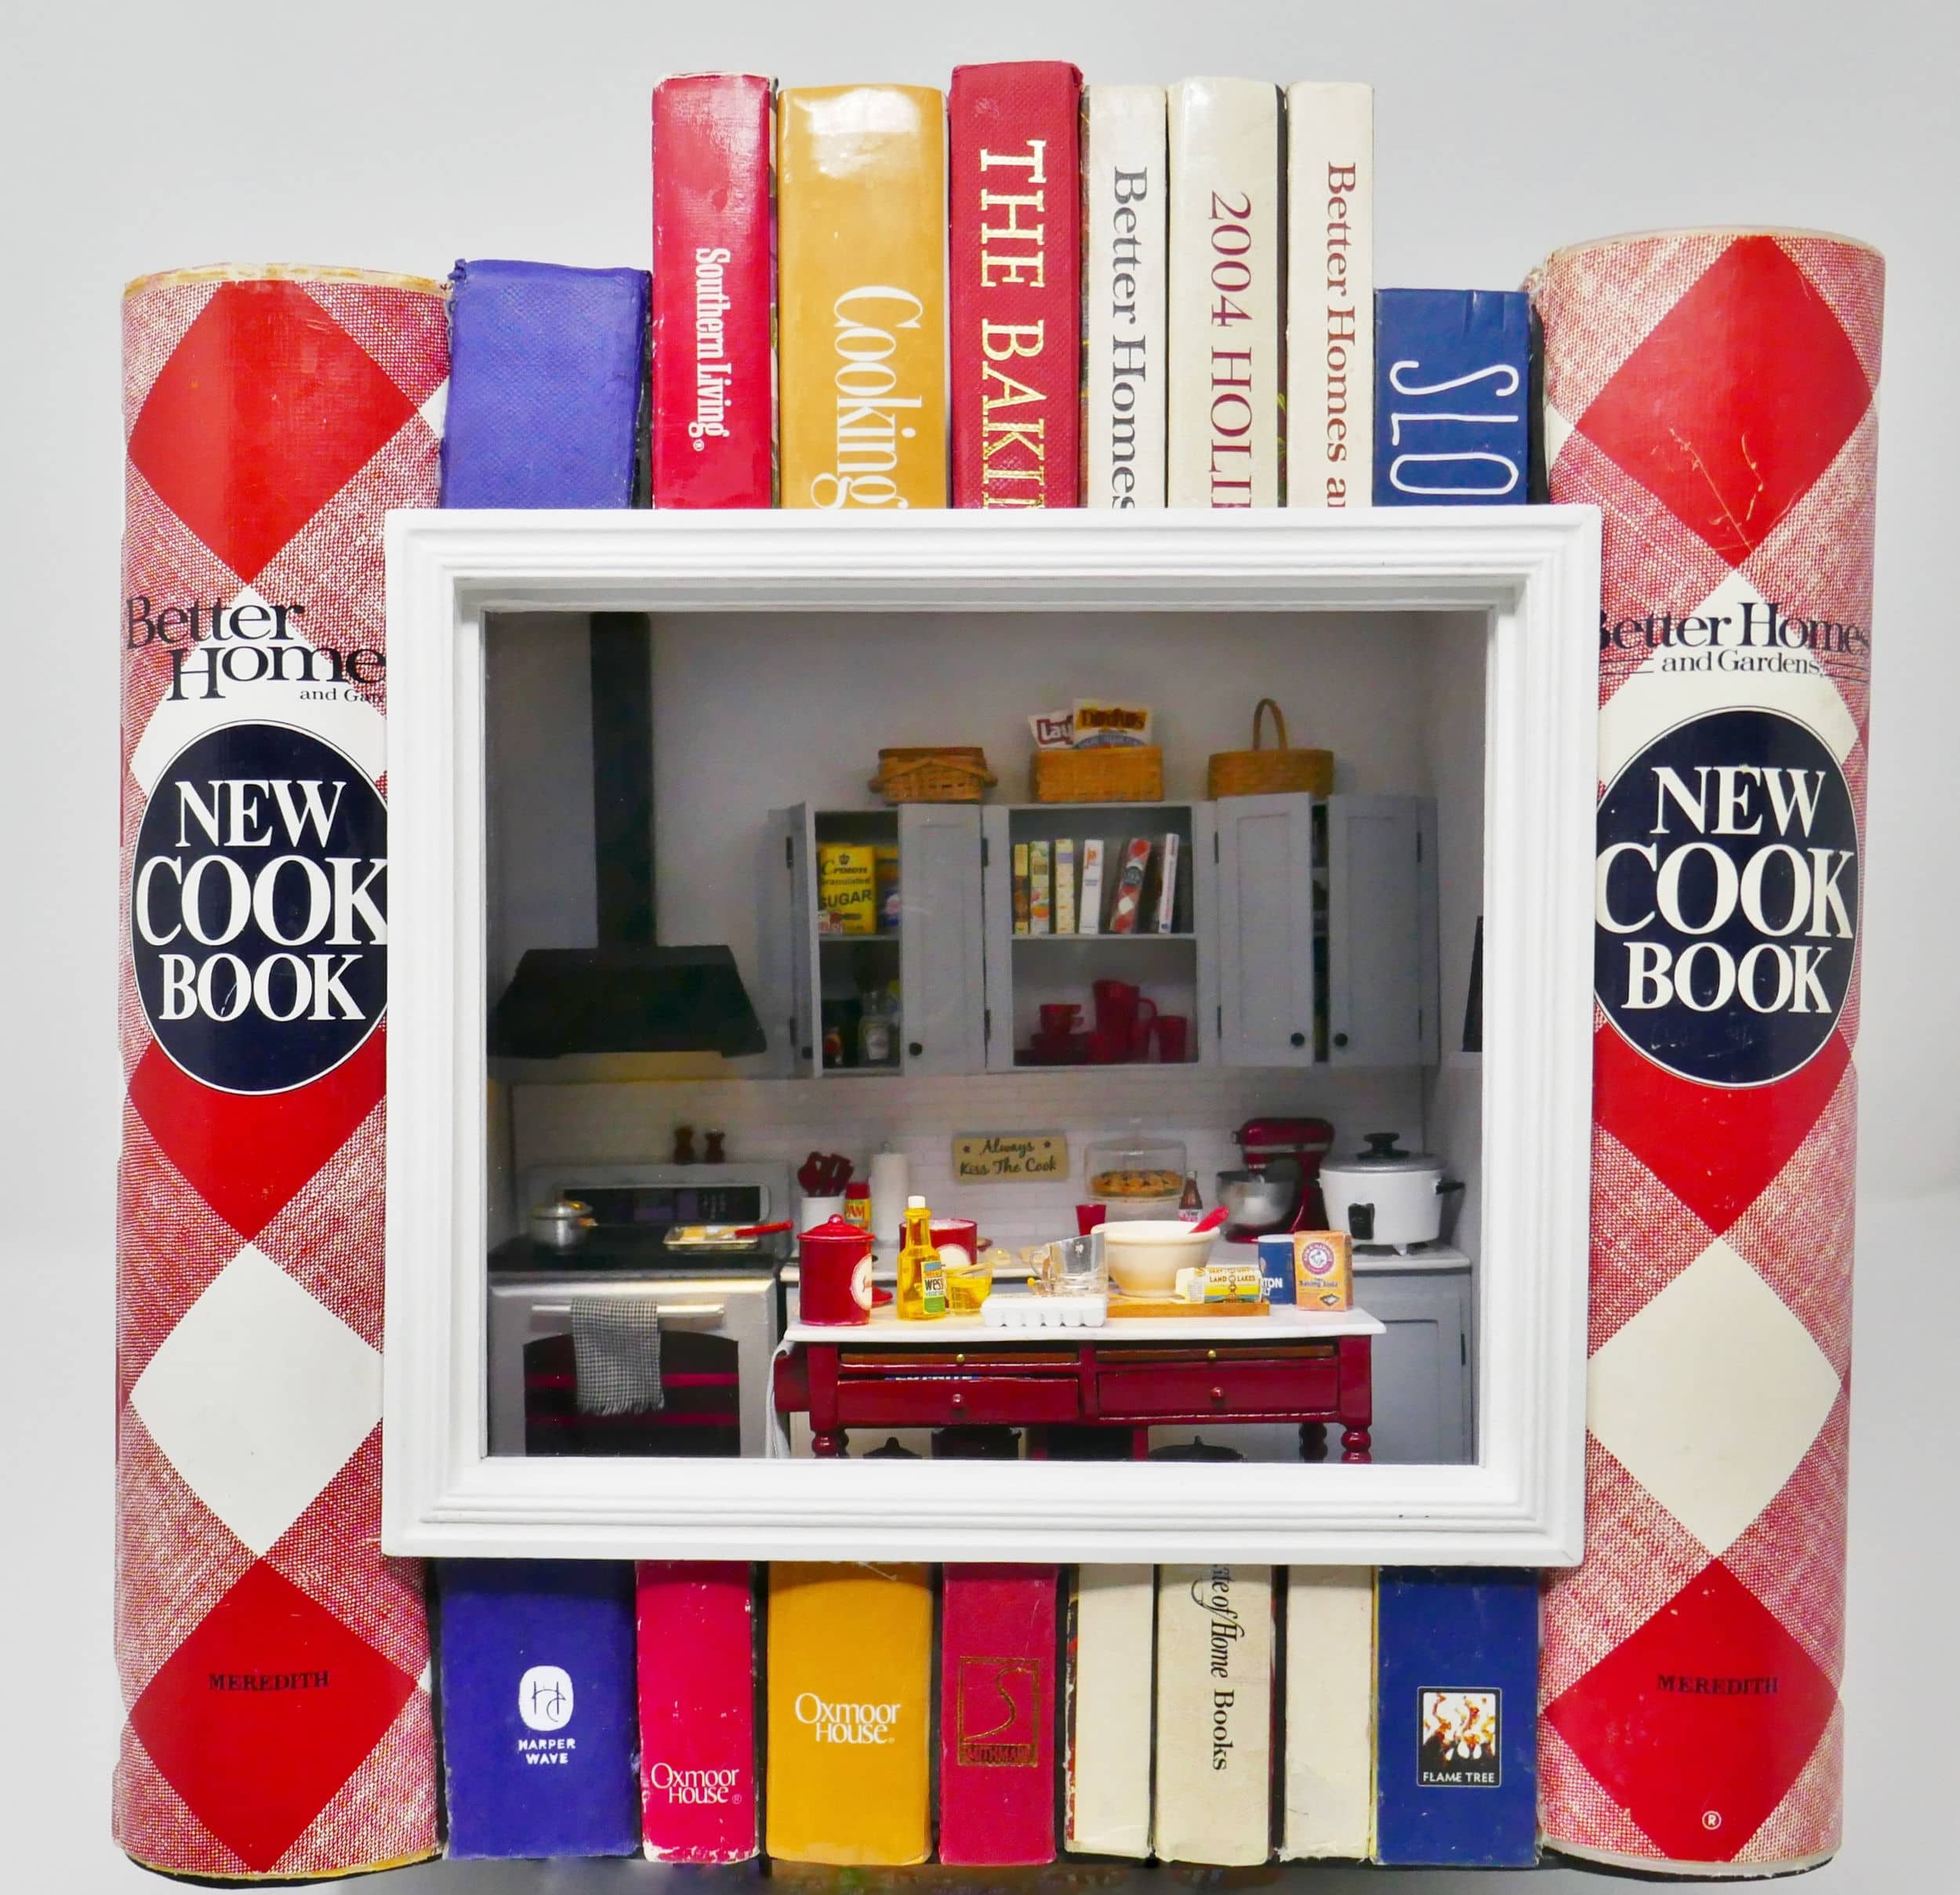
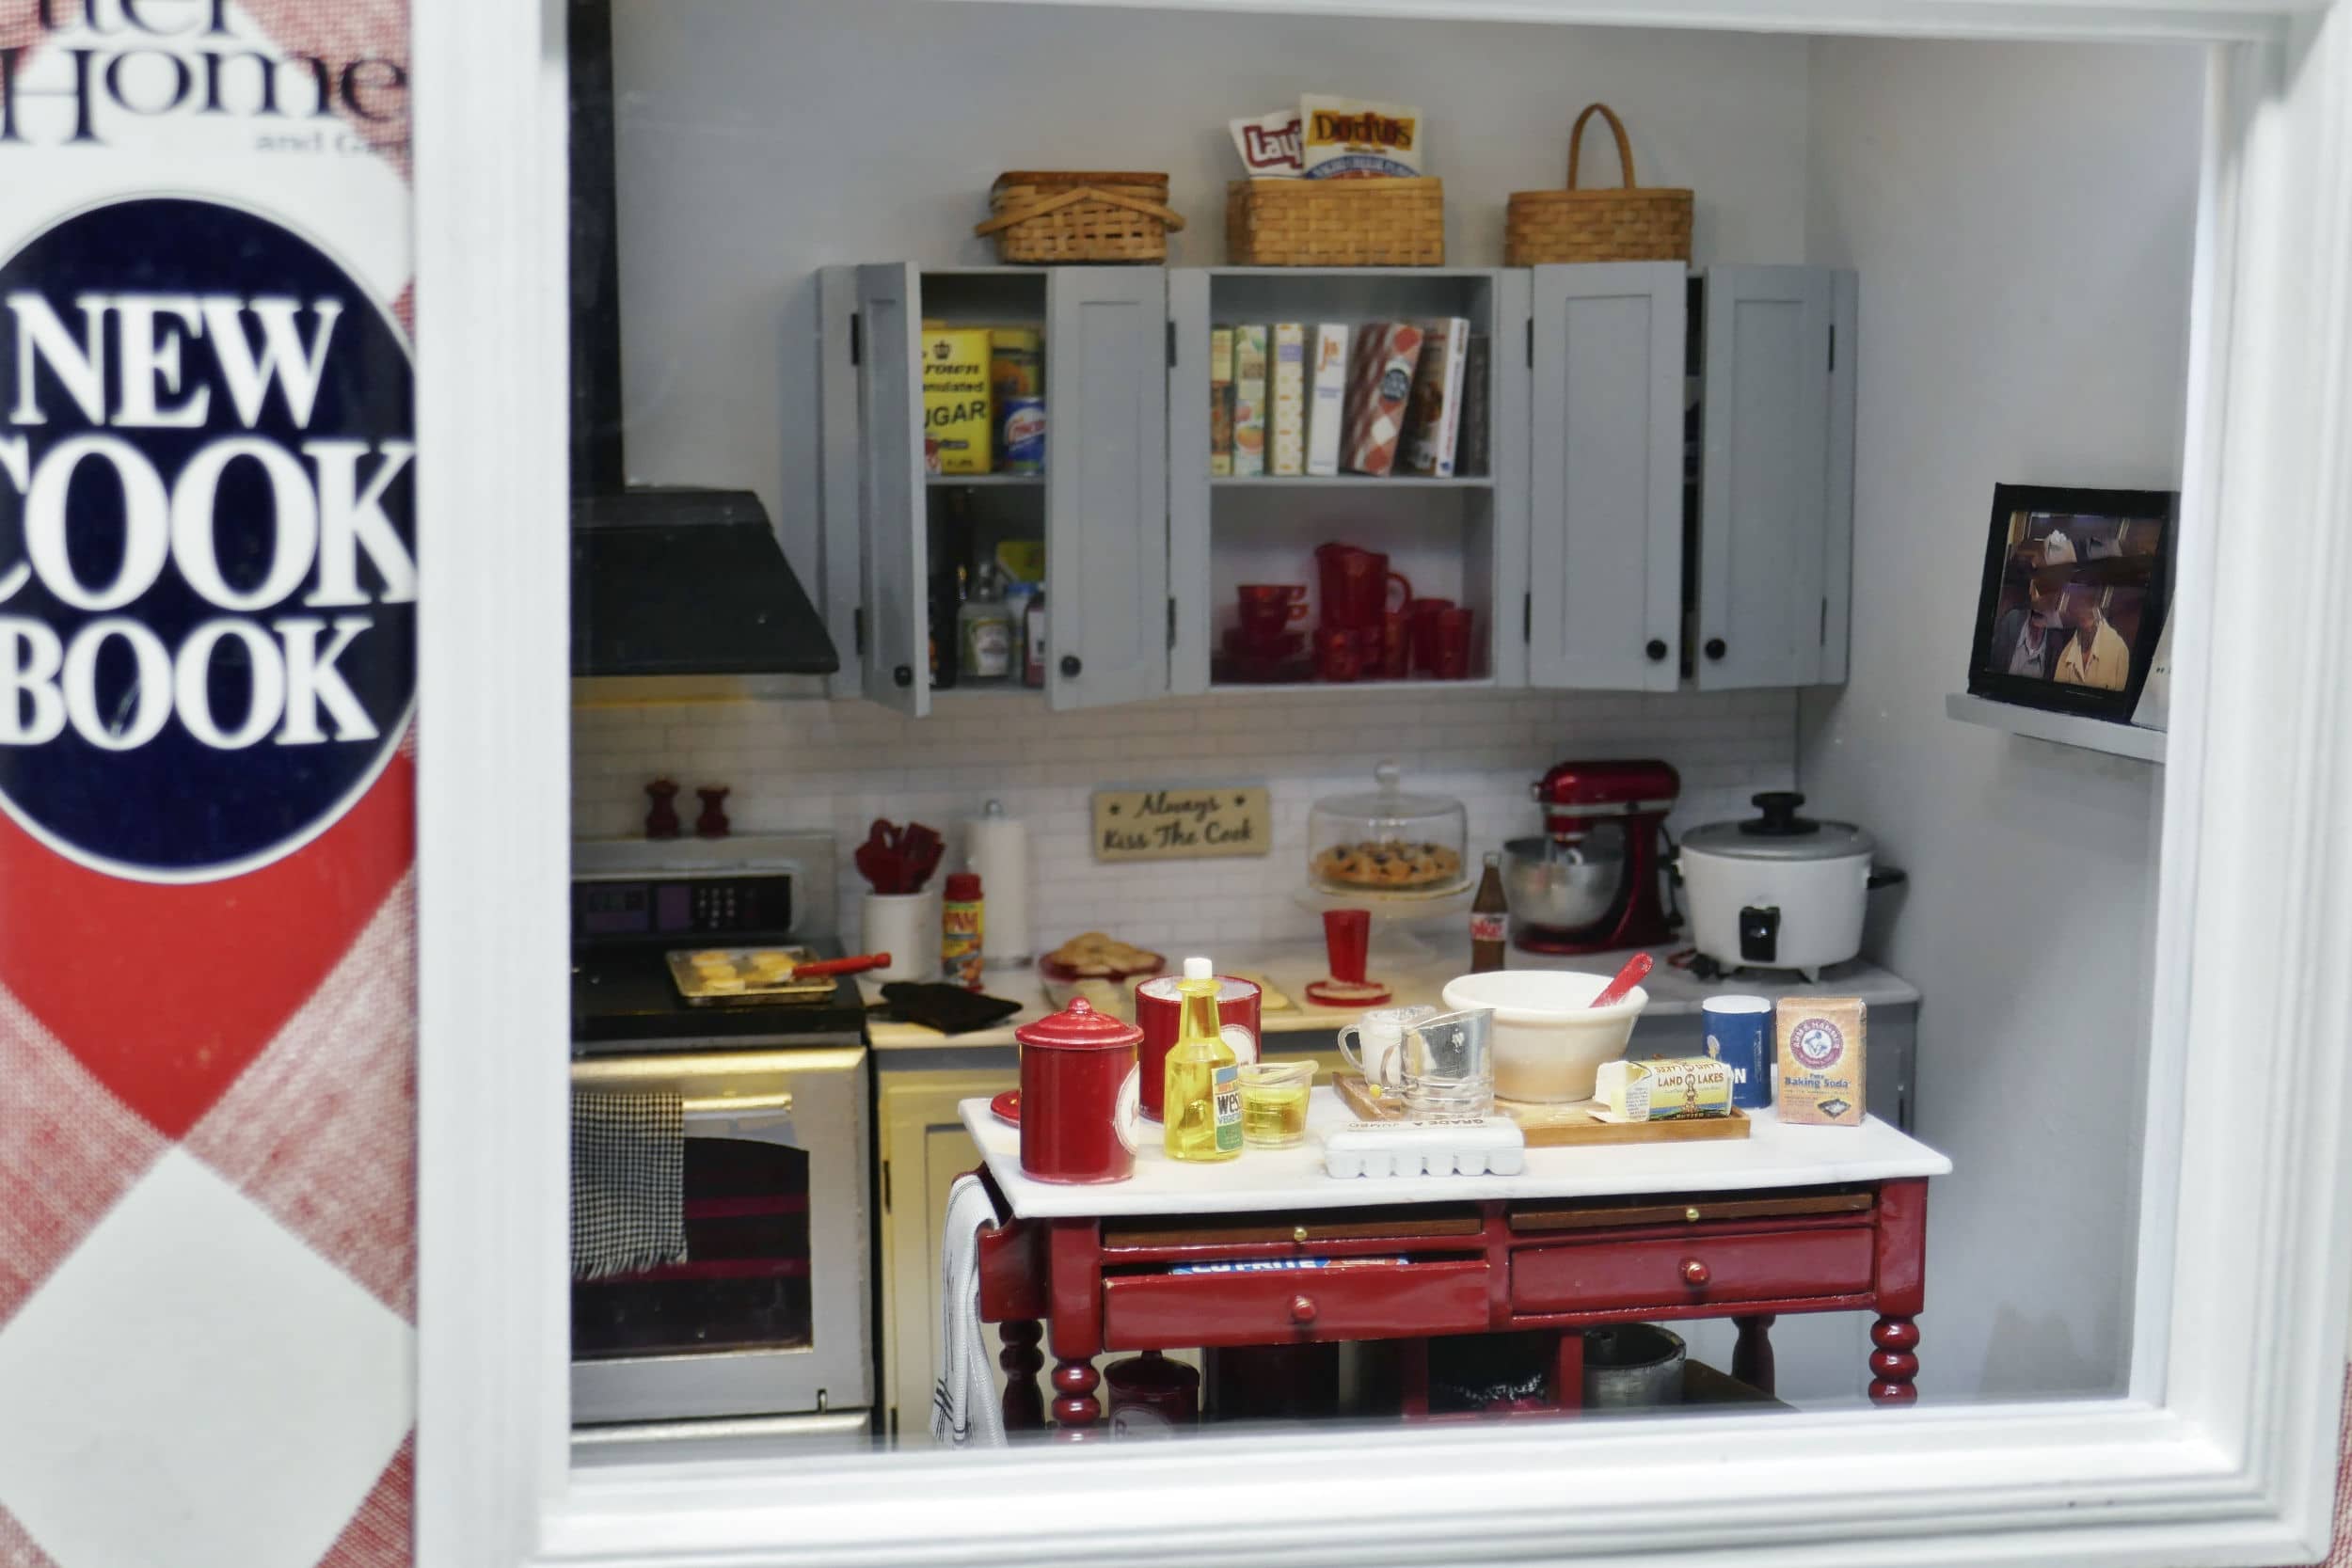
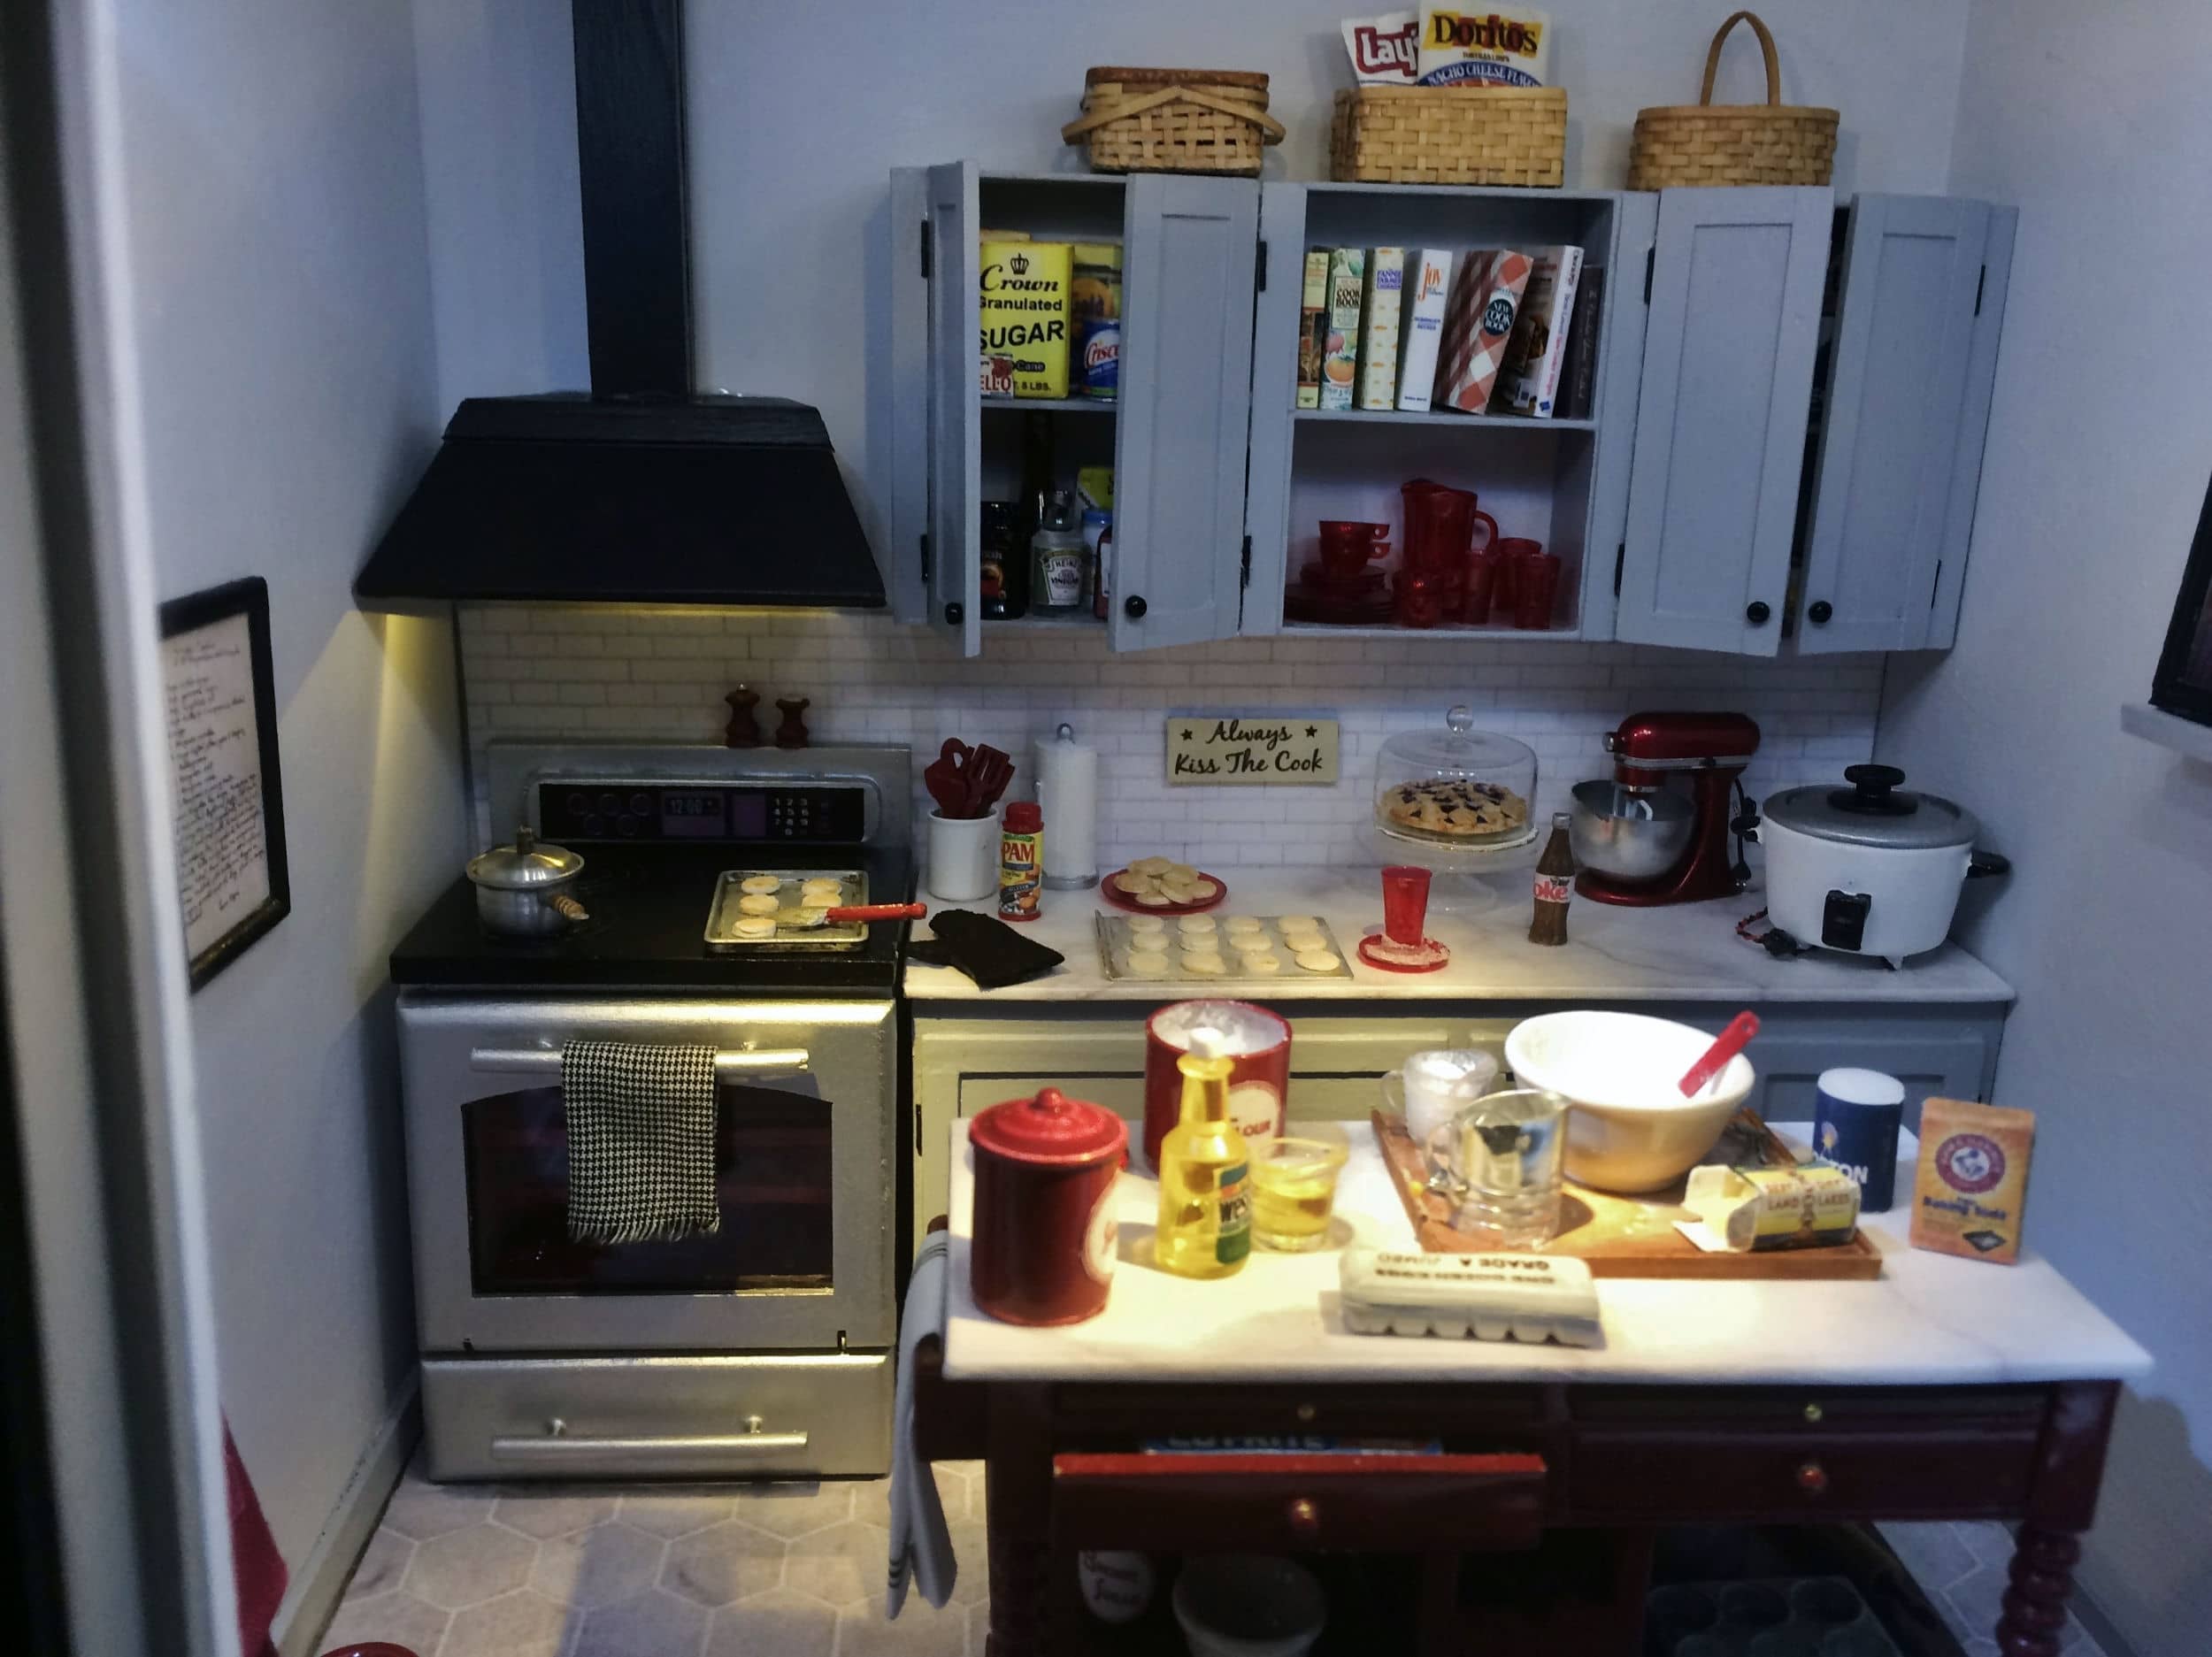
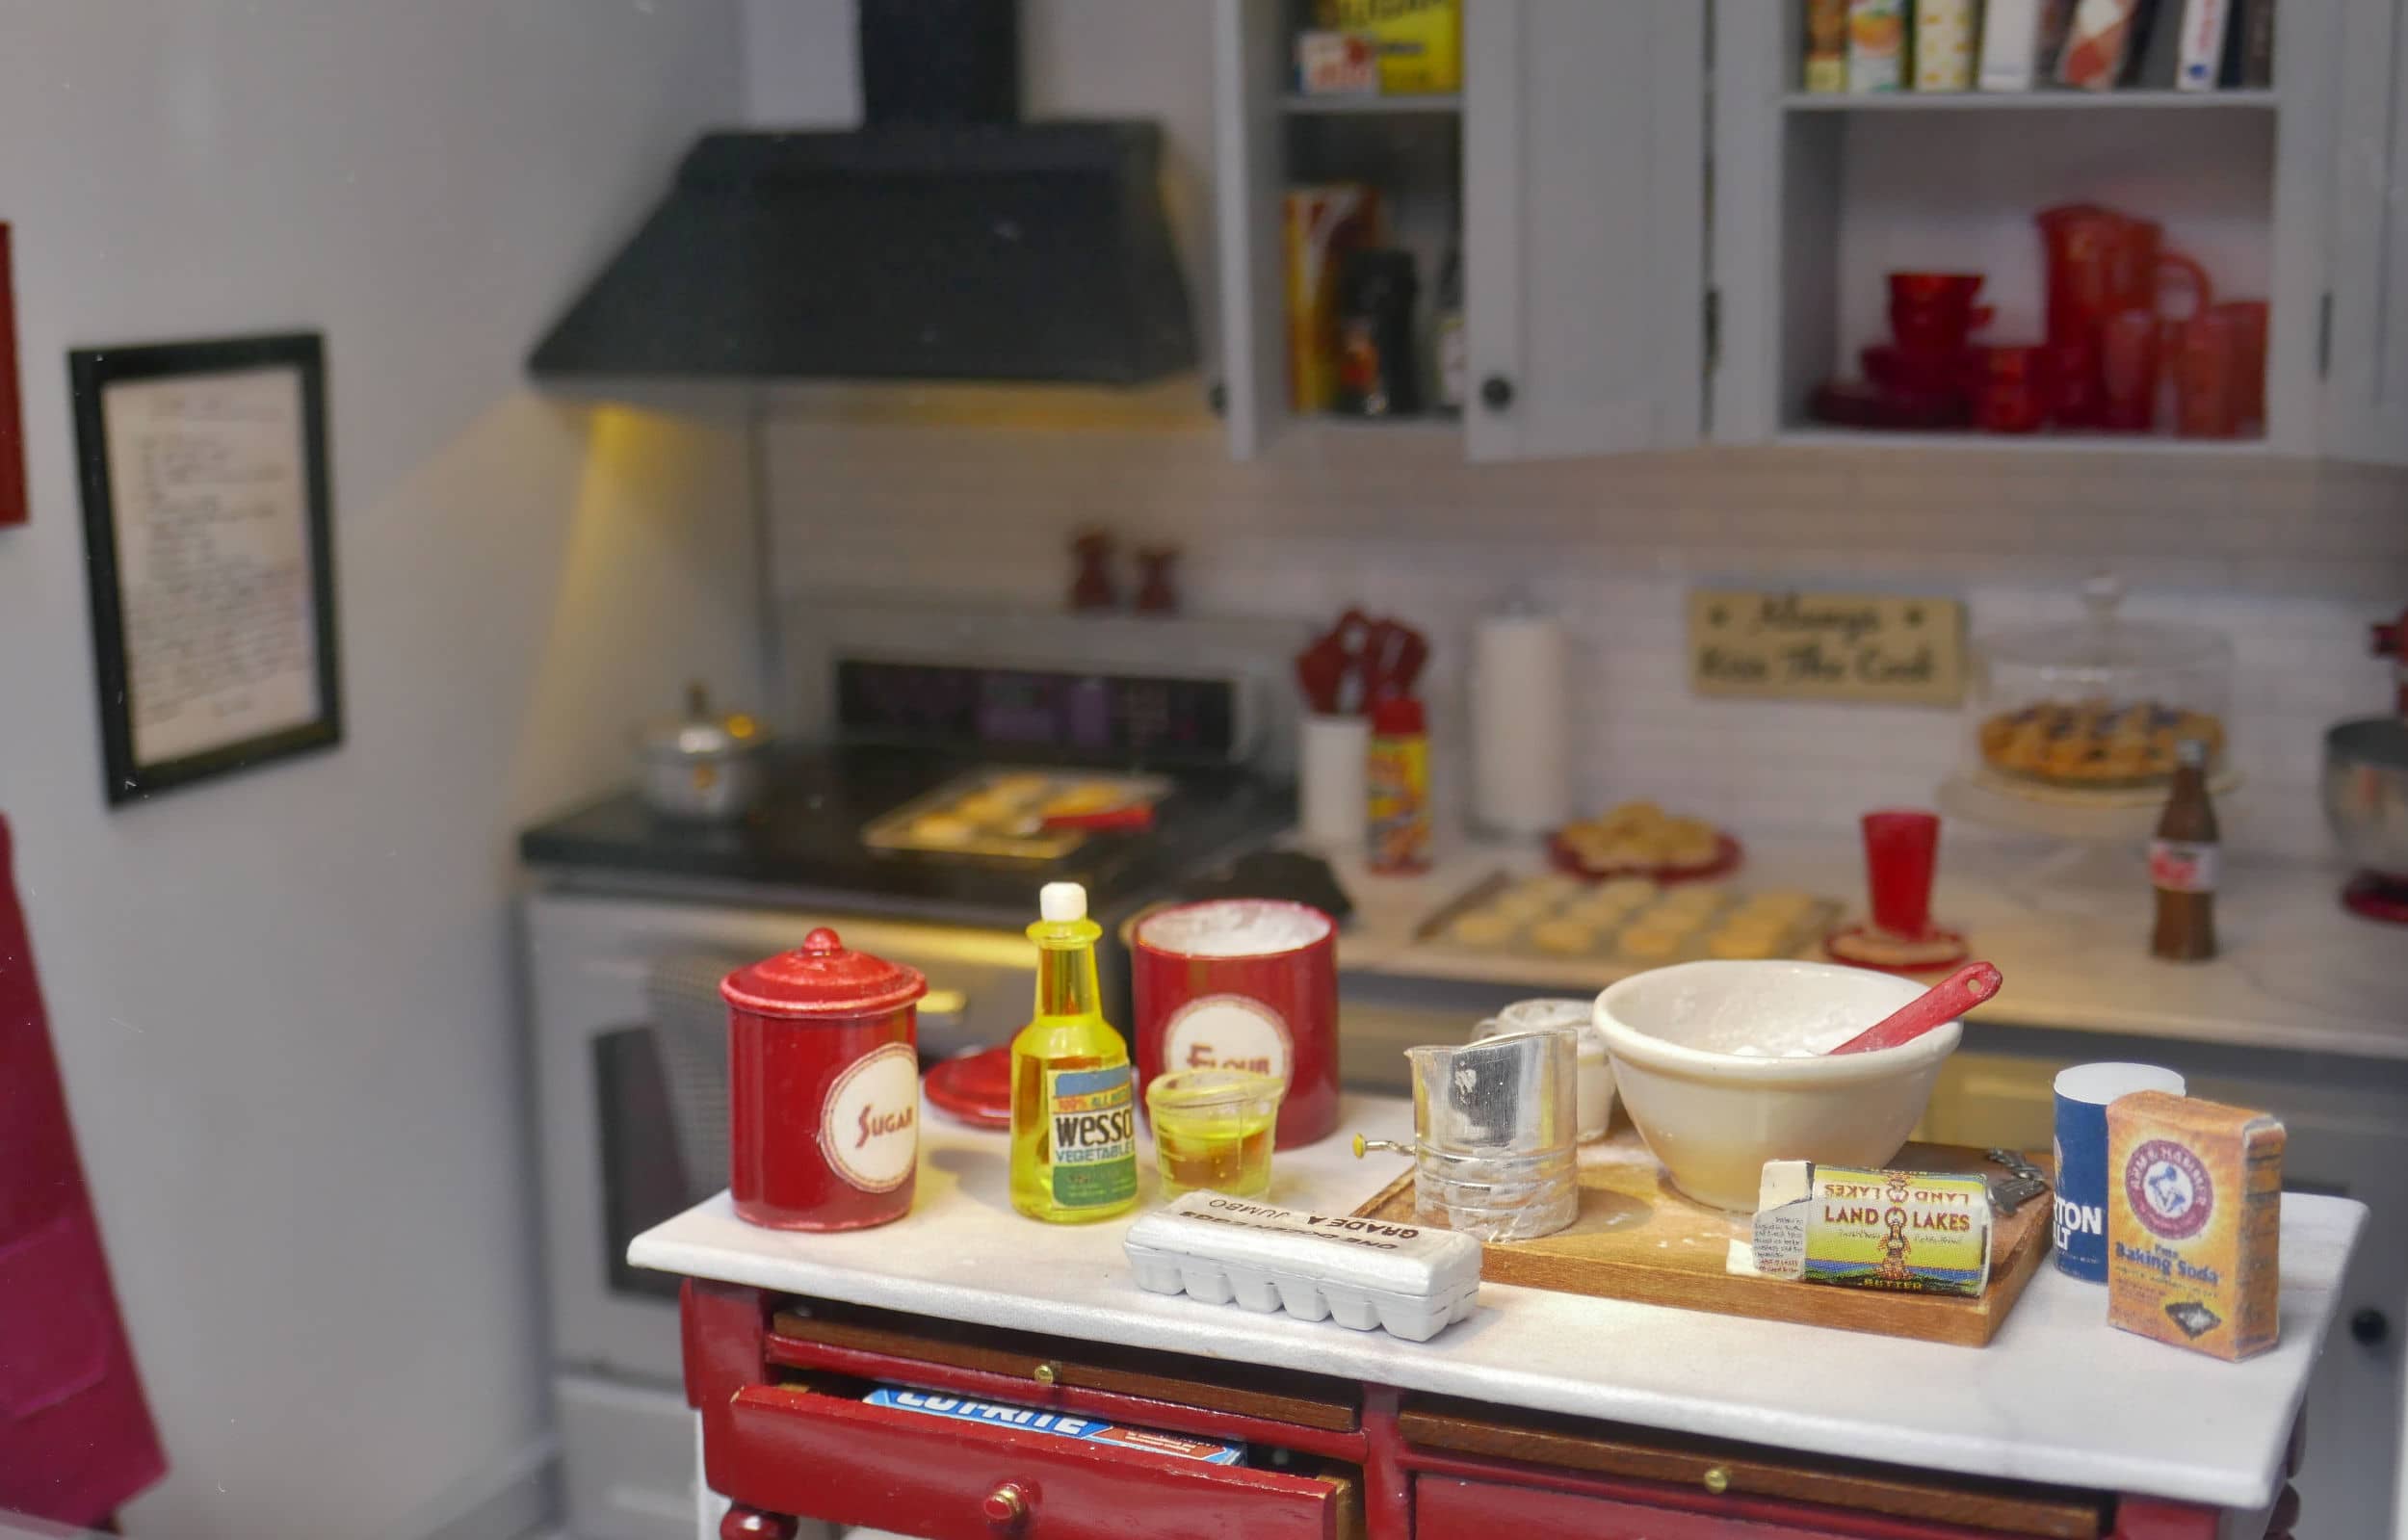
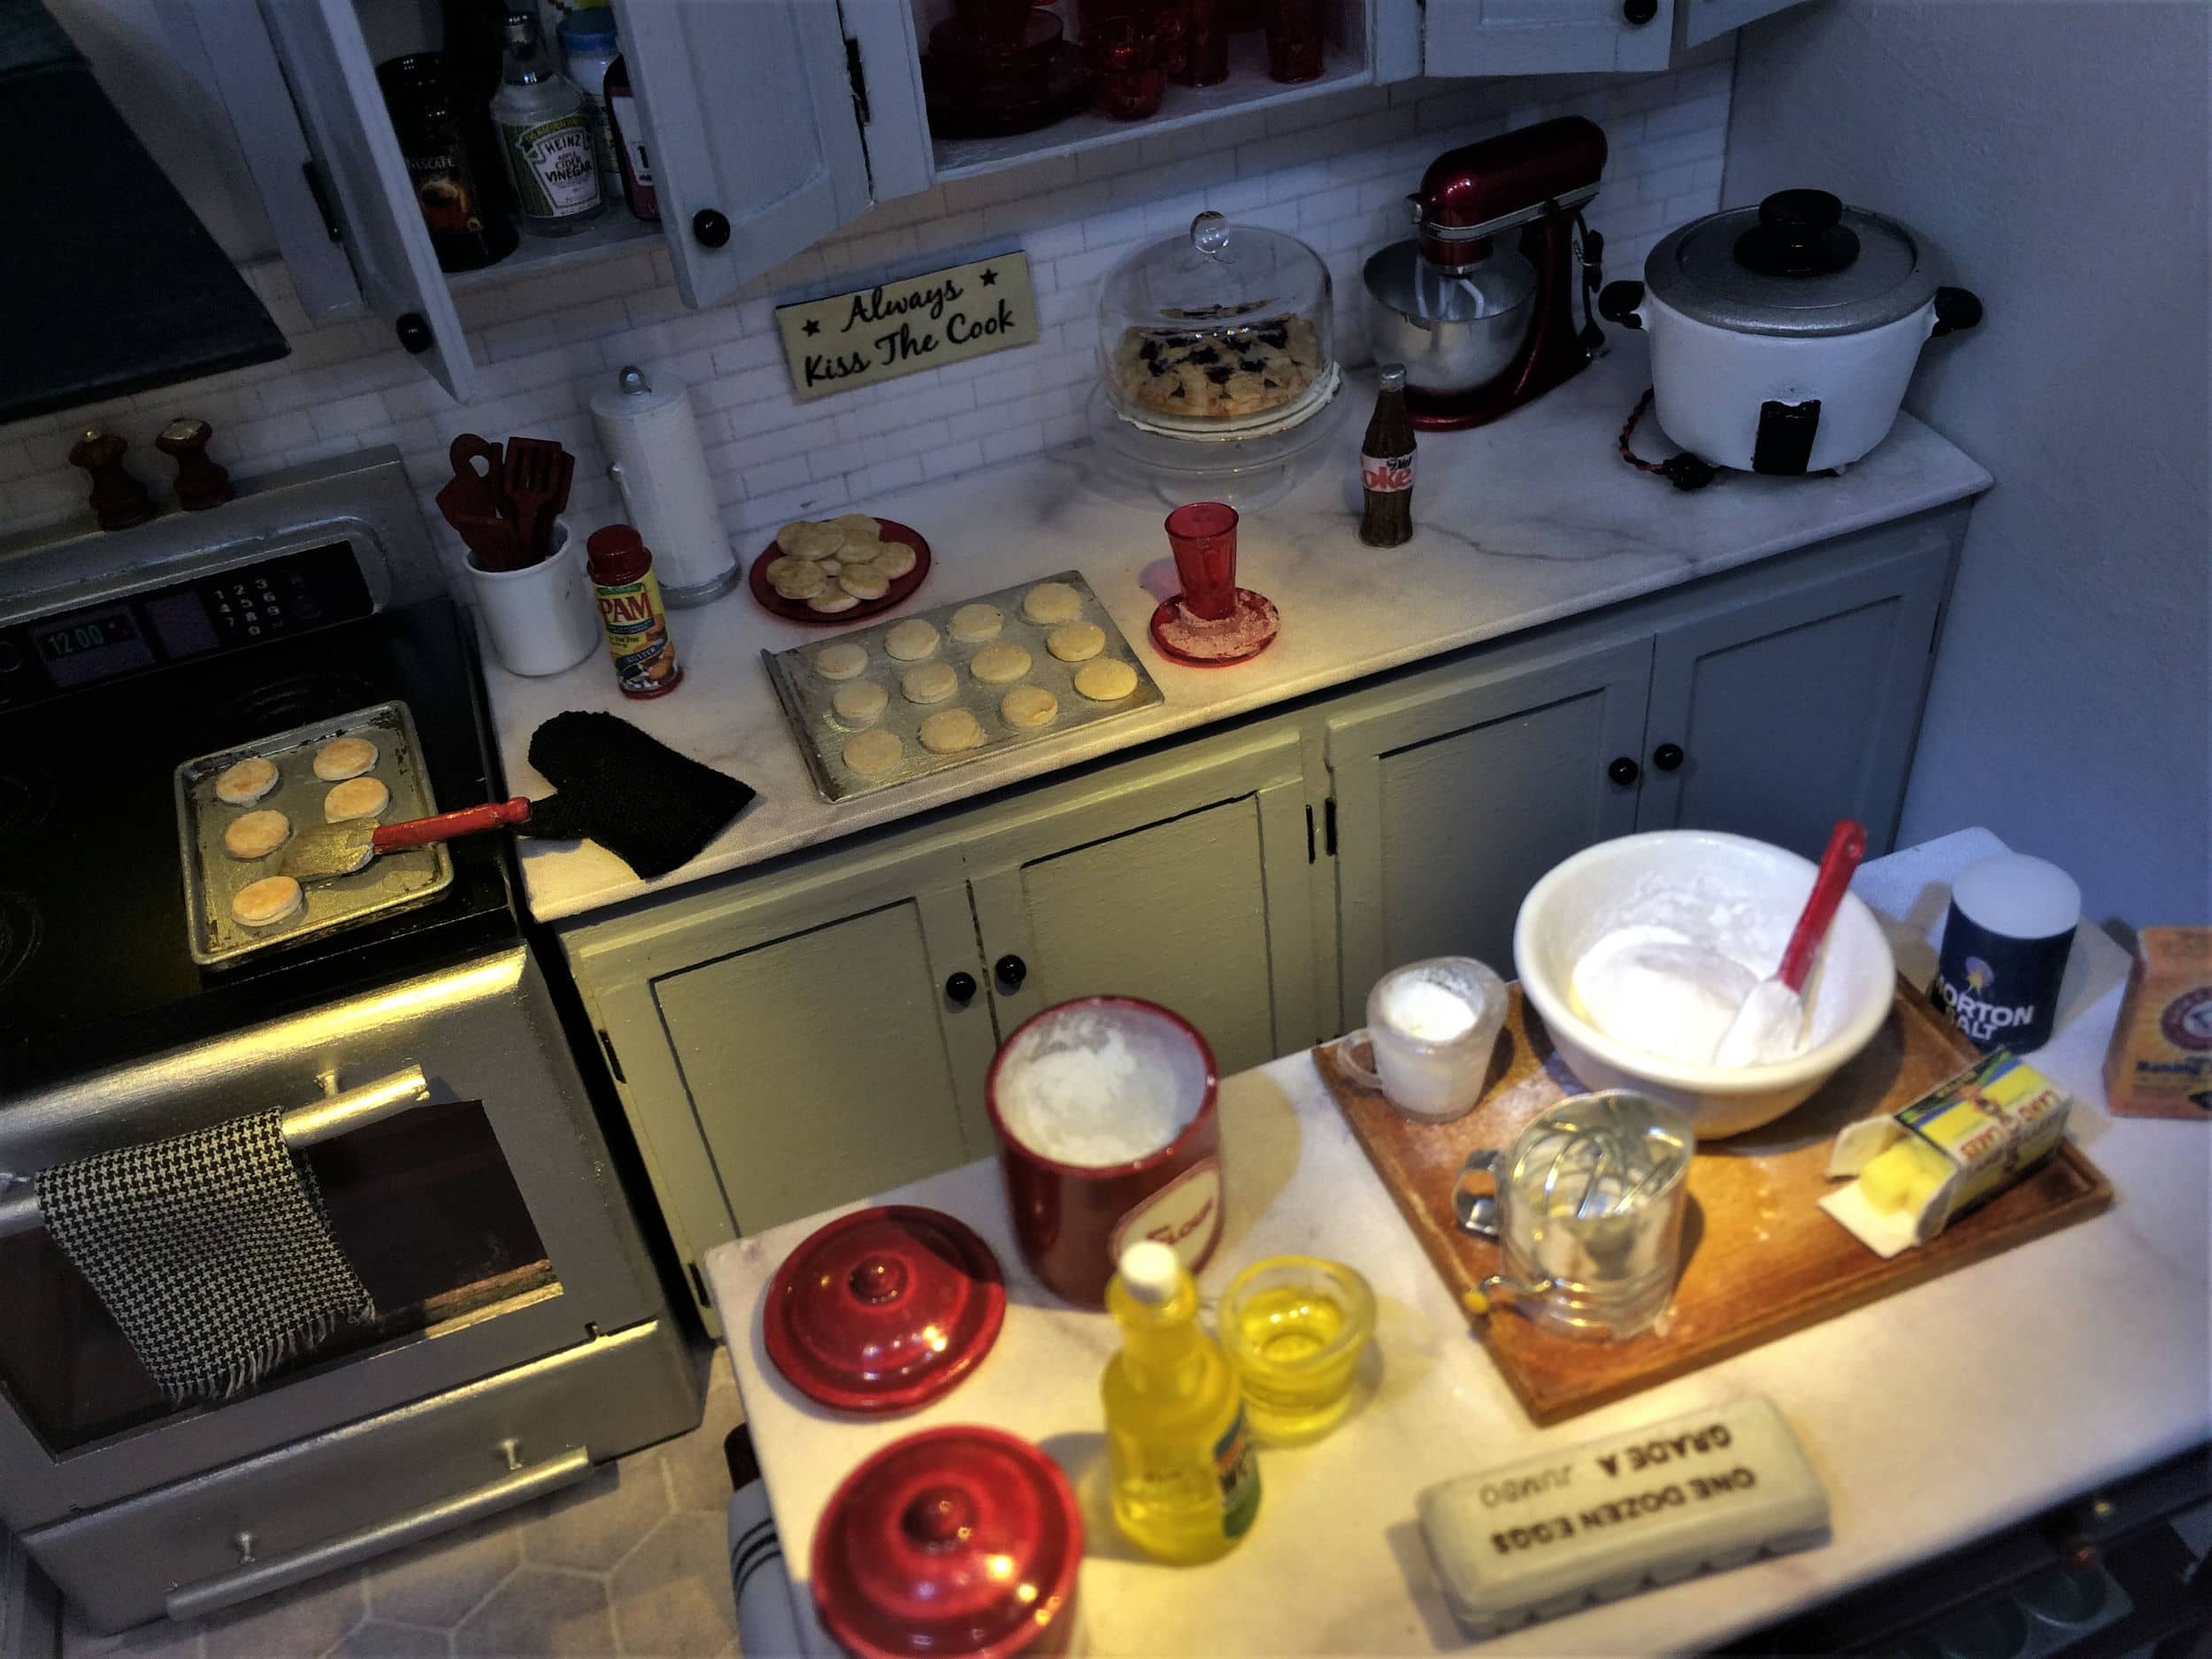
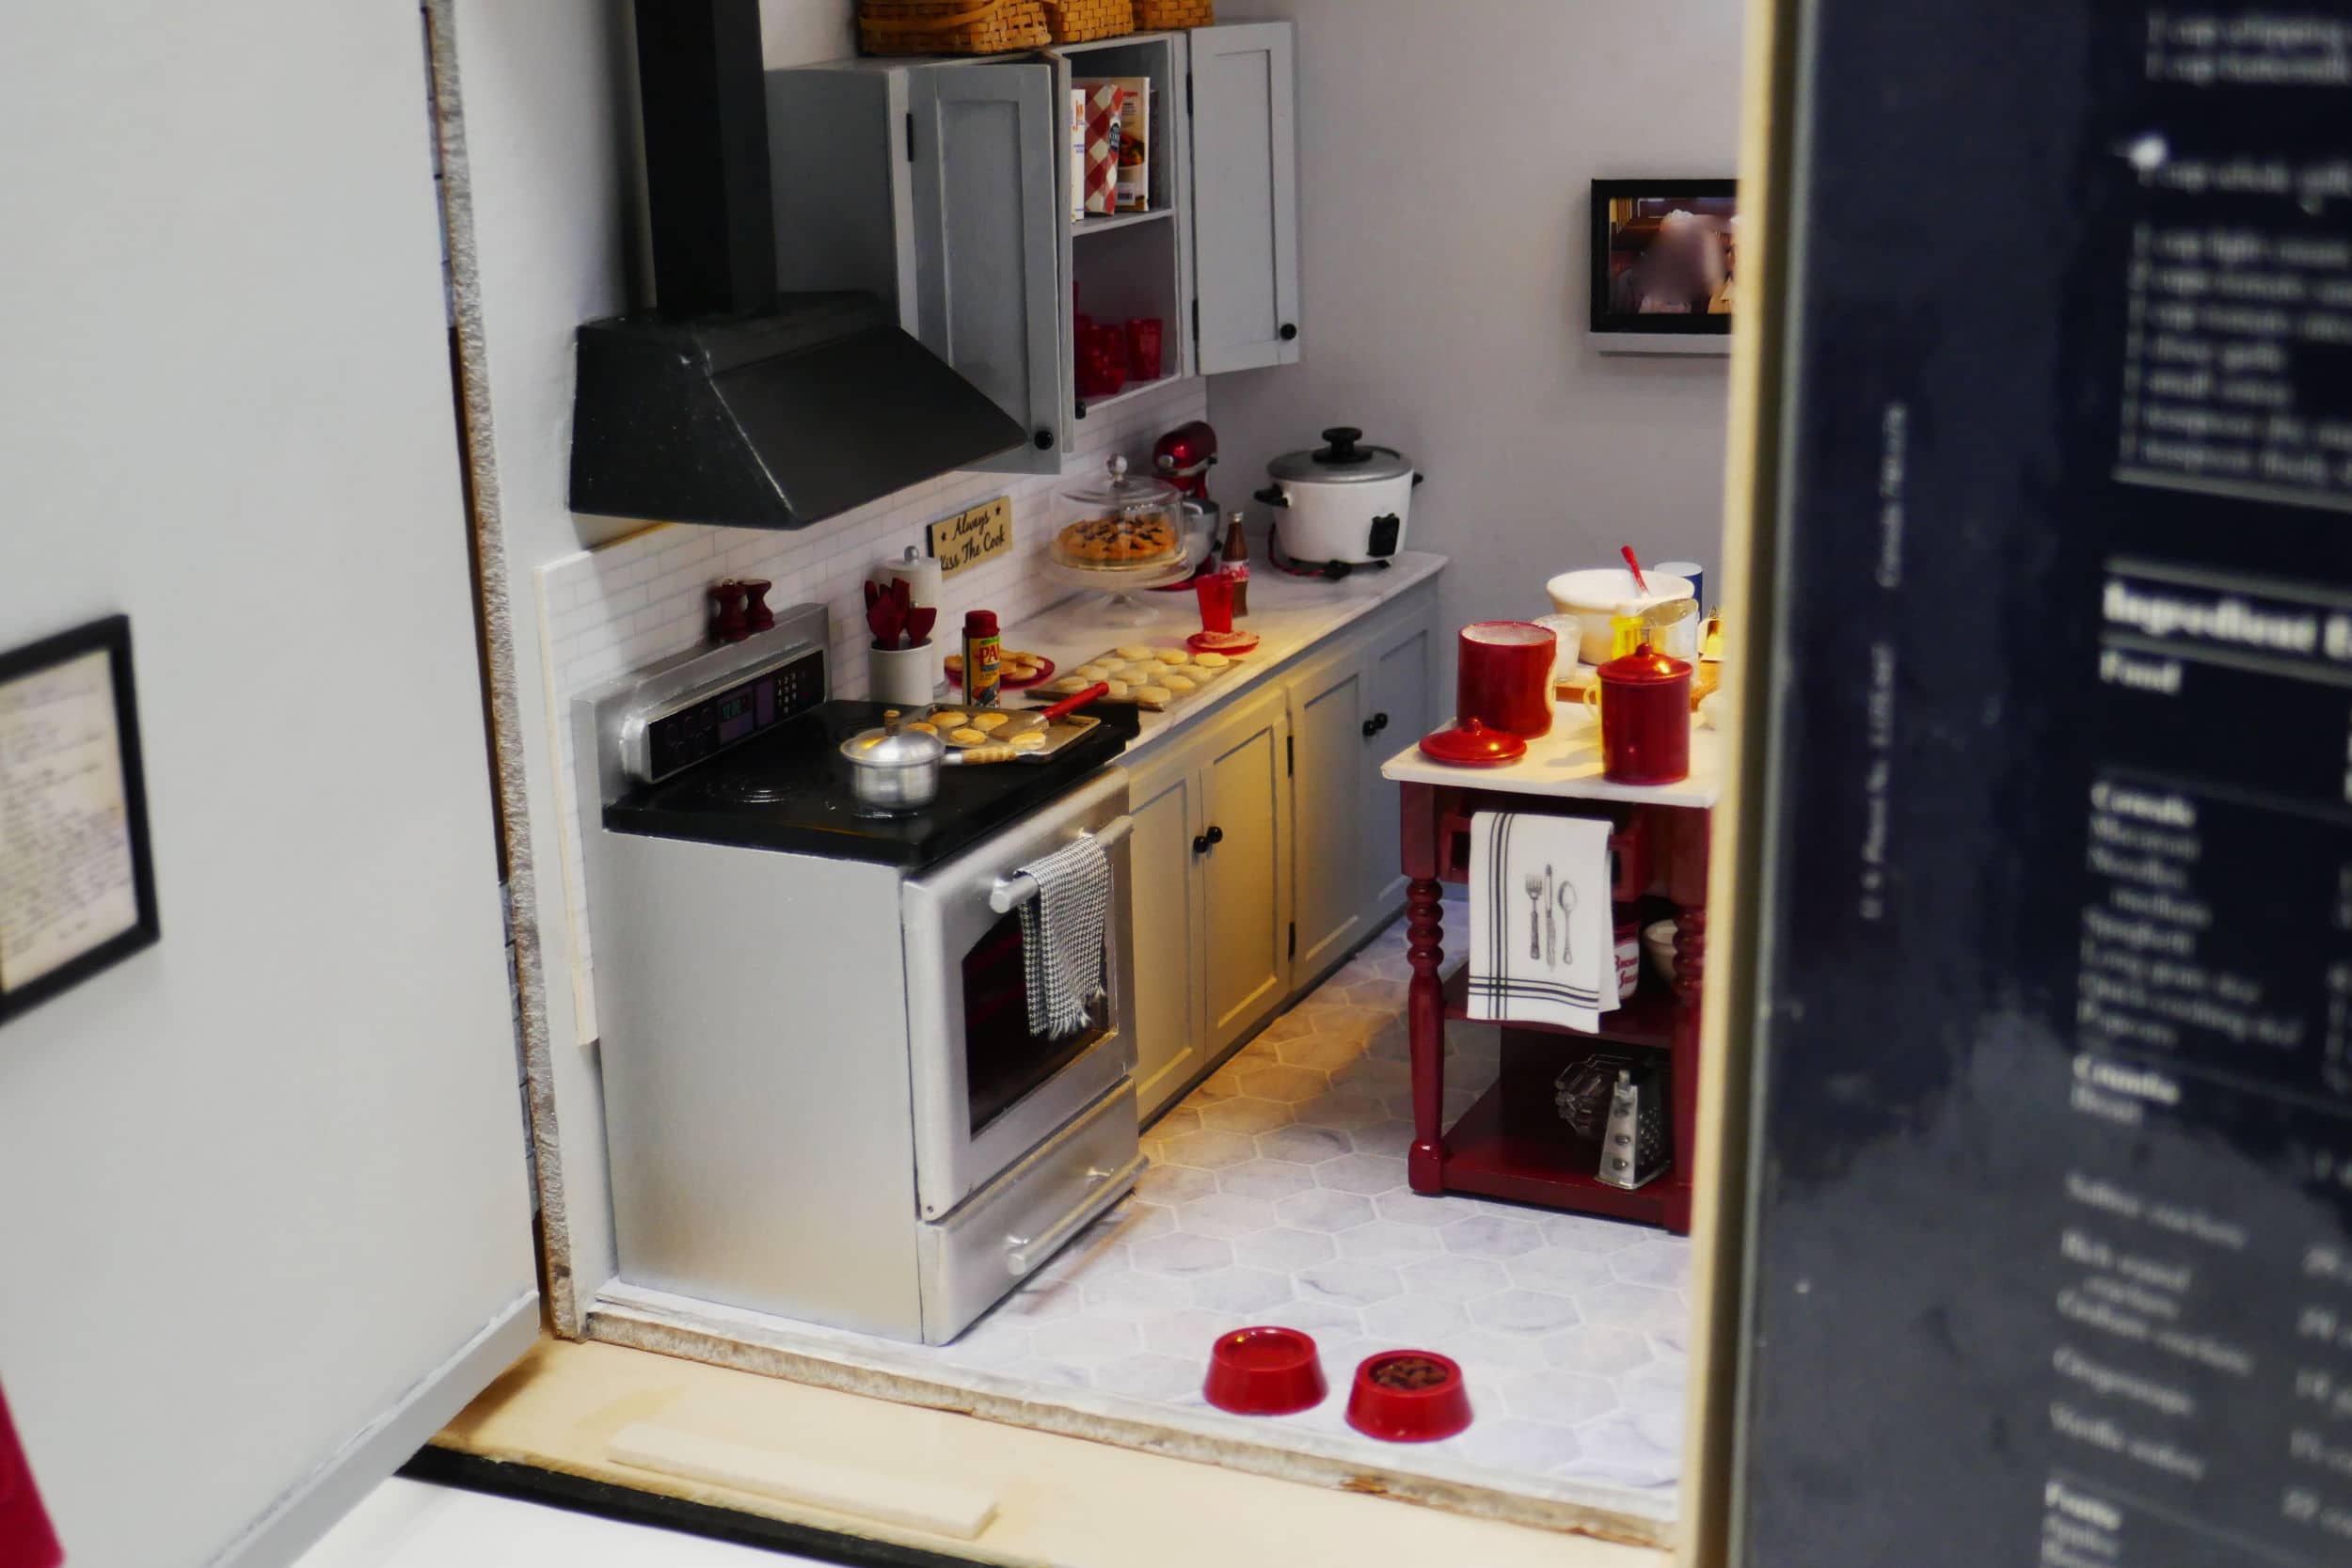
C's Kitchen

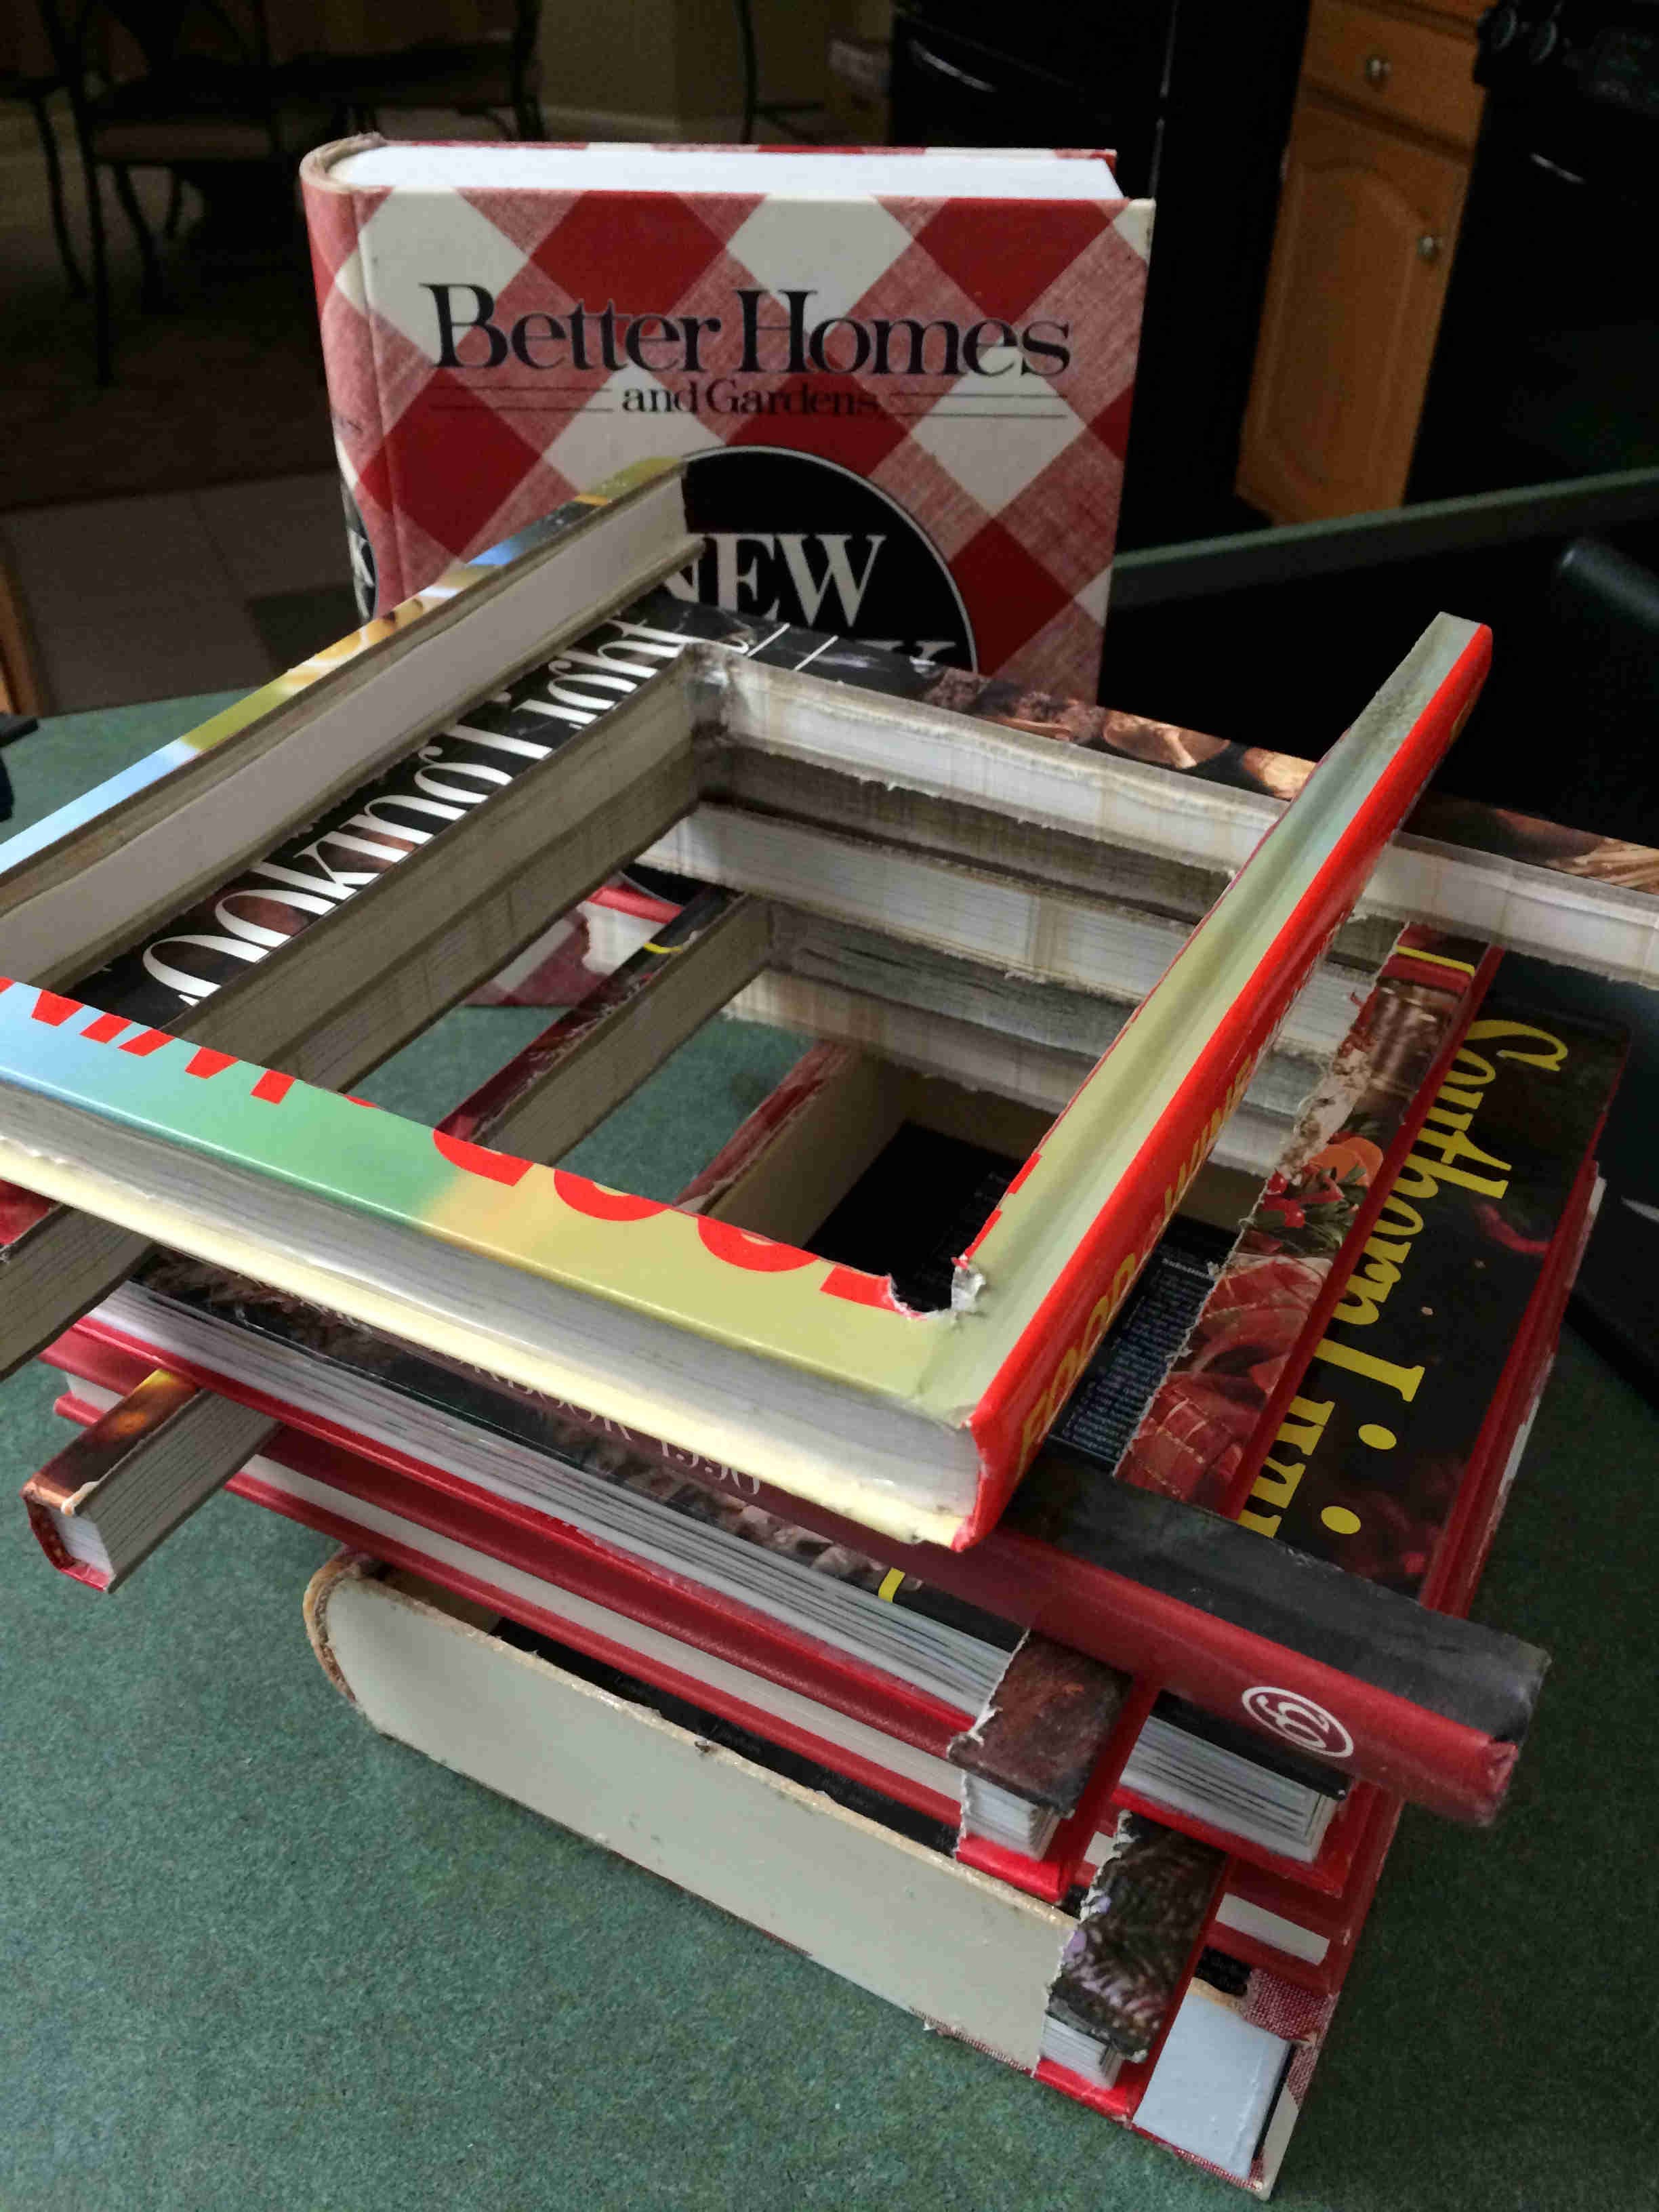
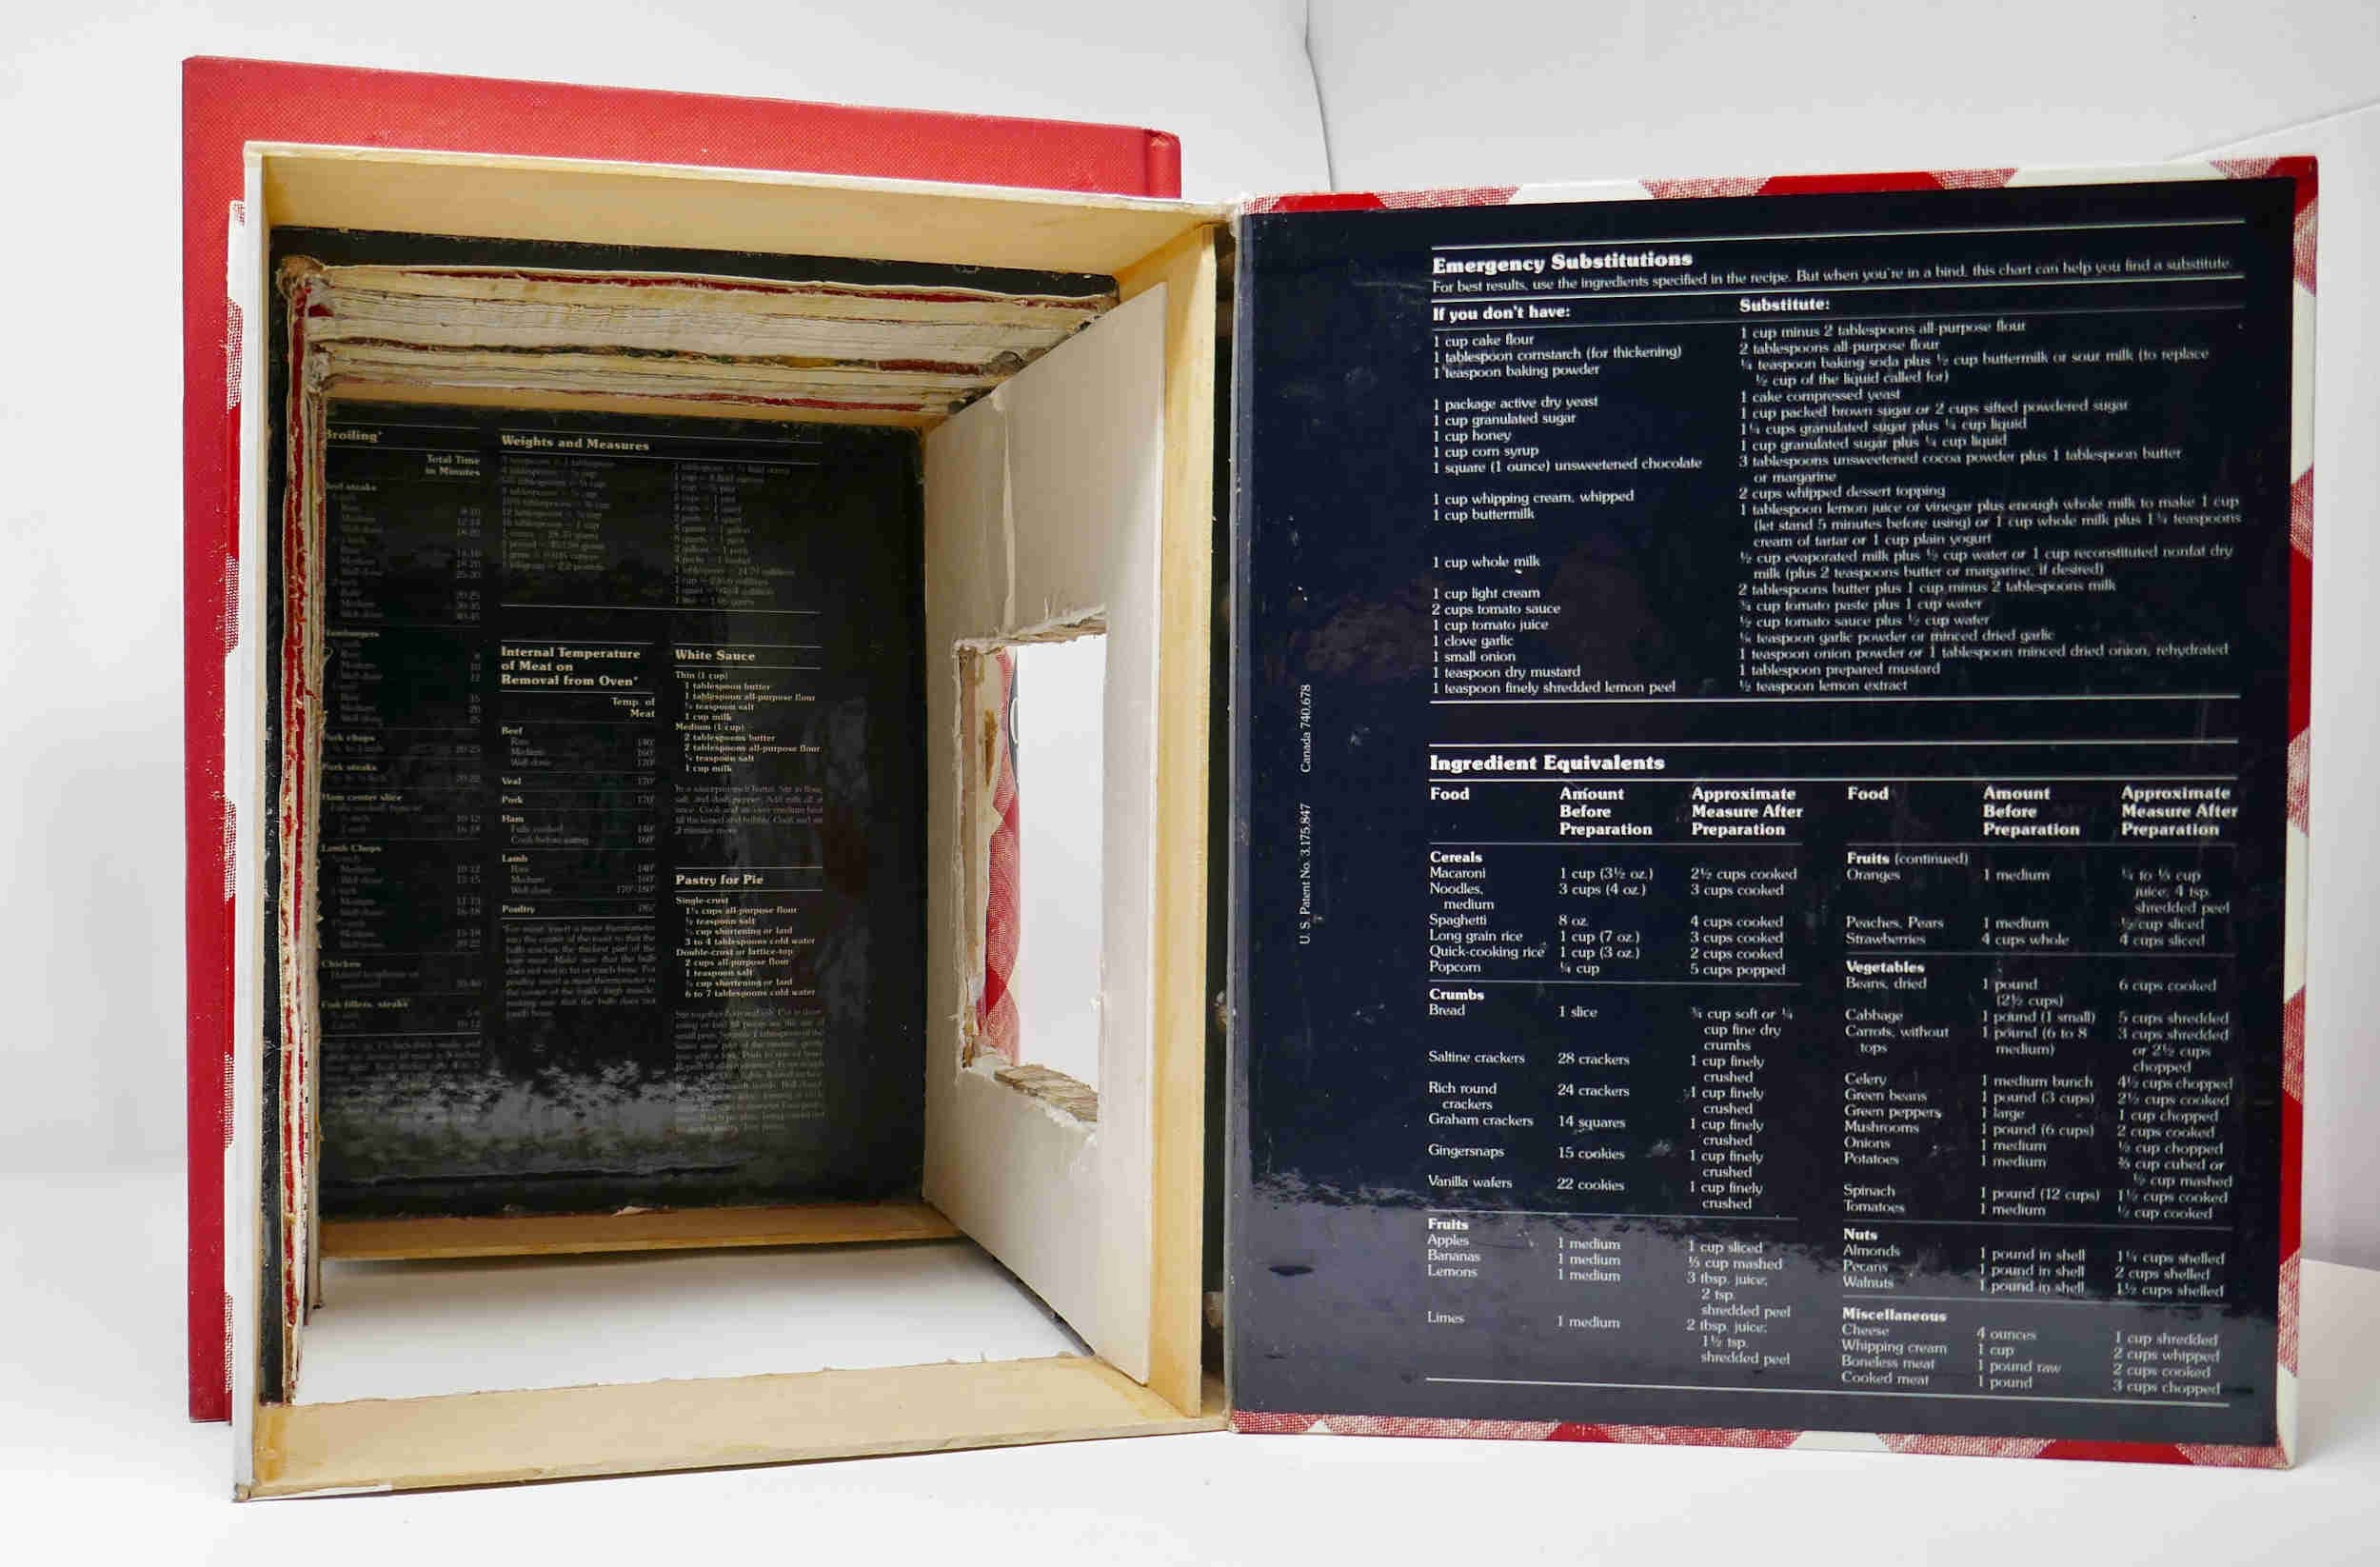
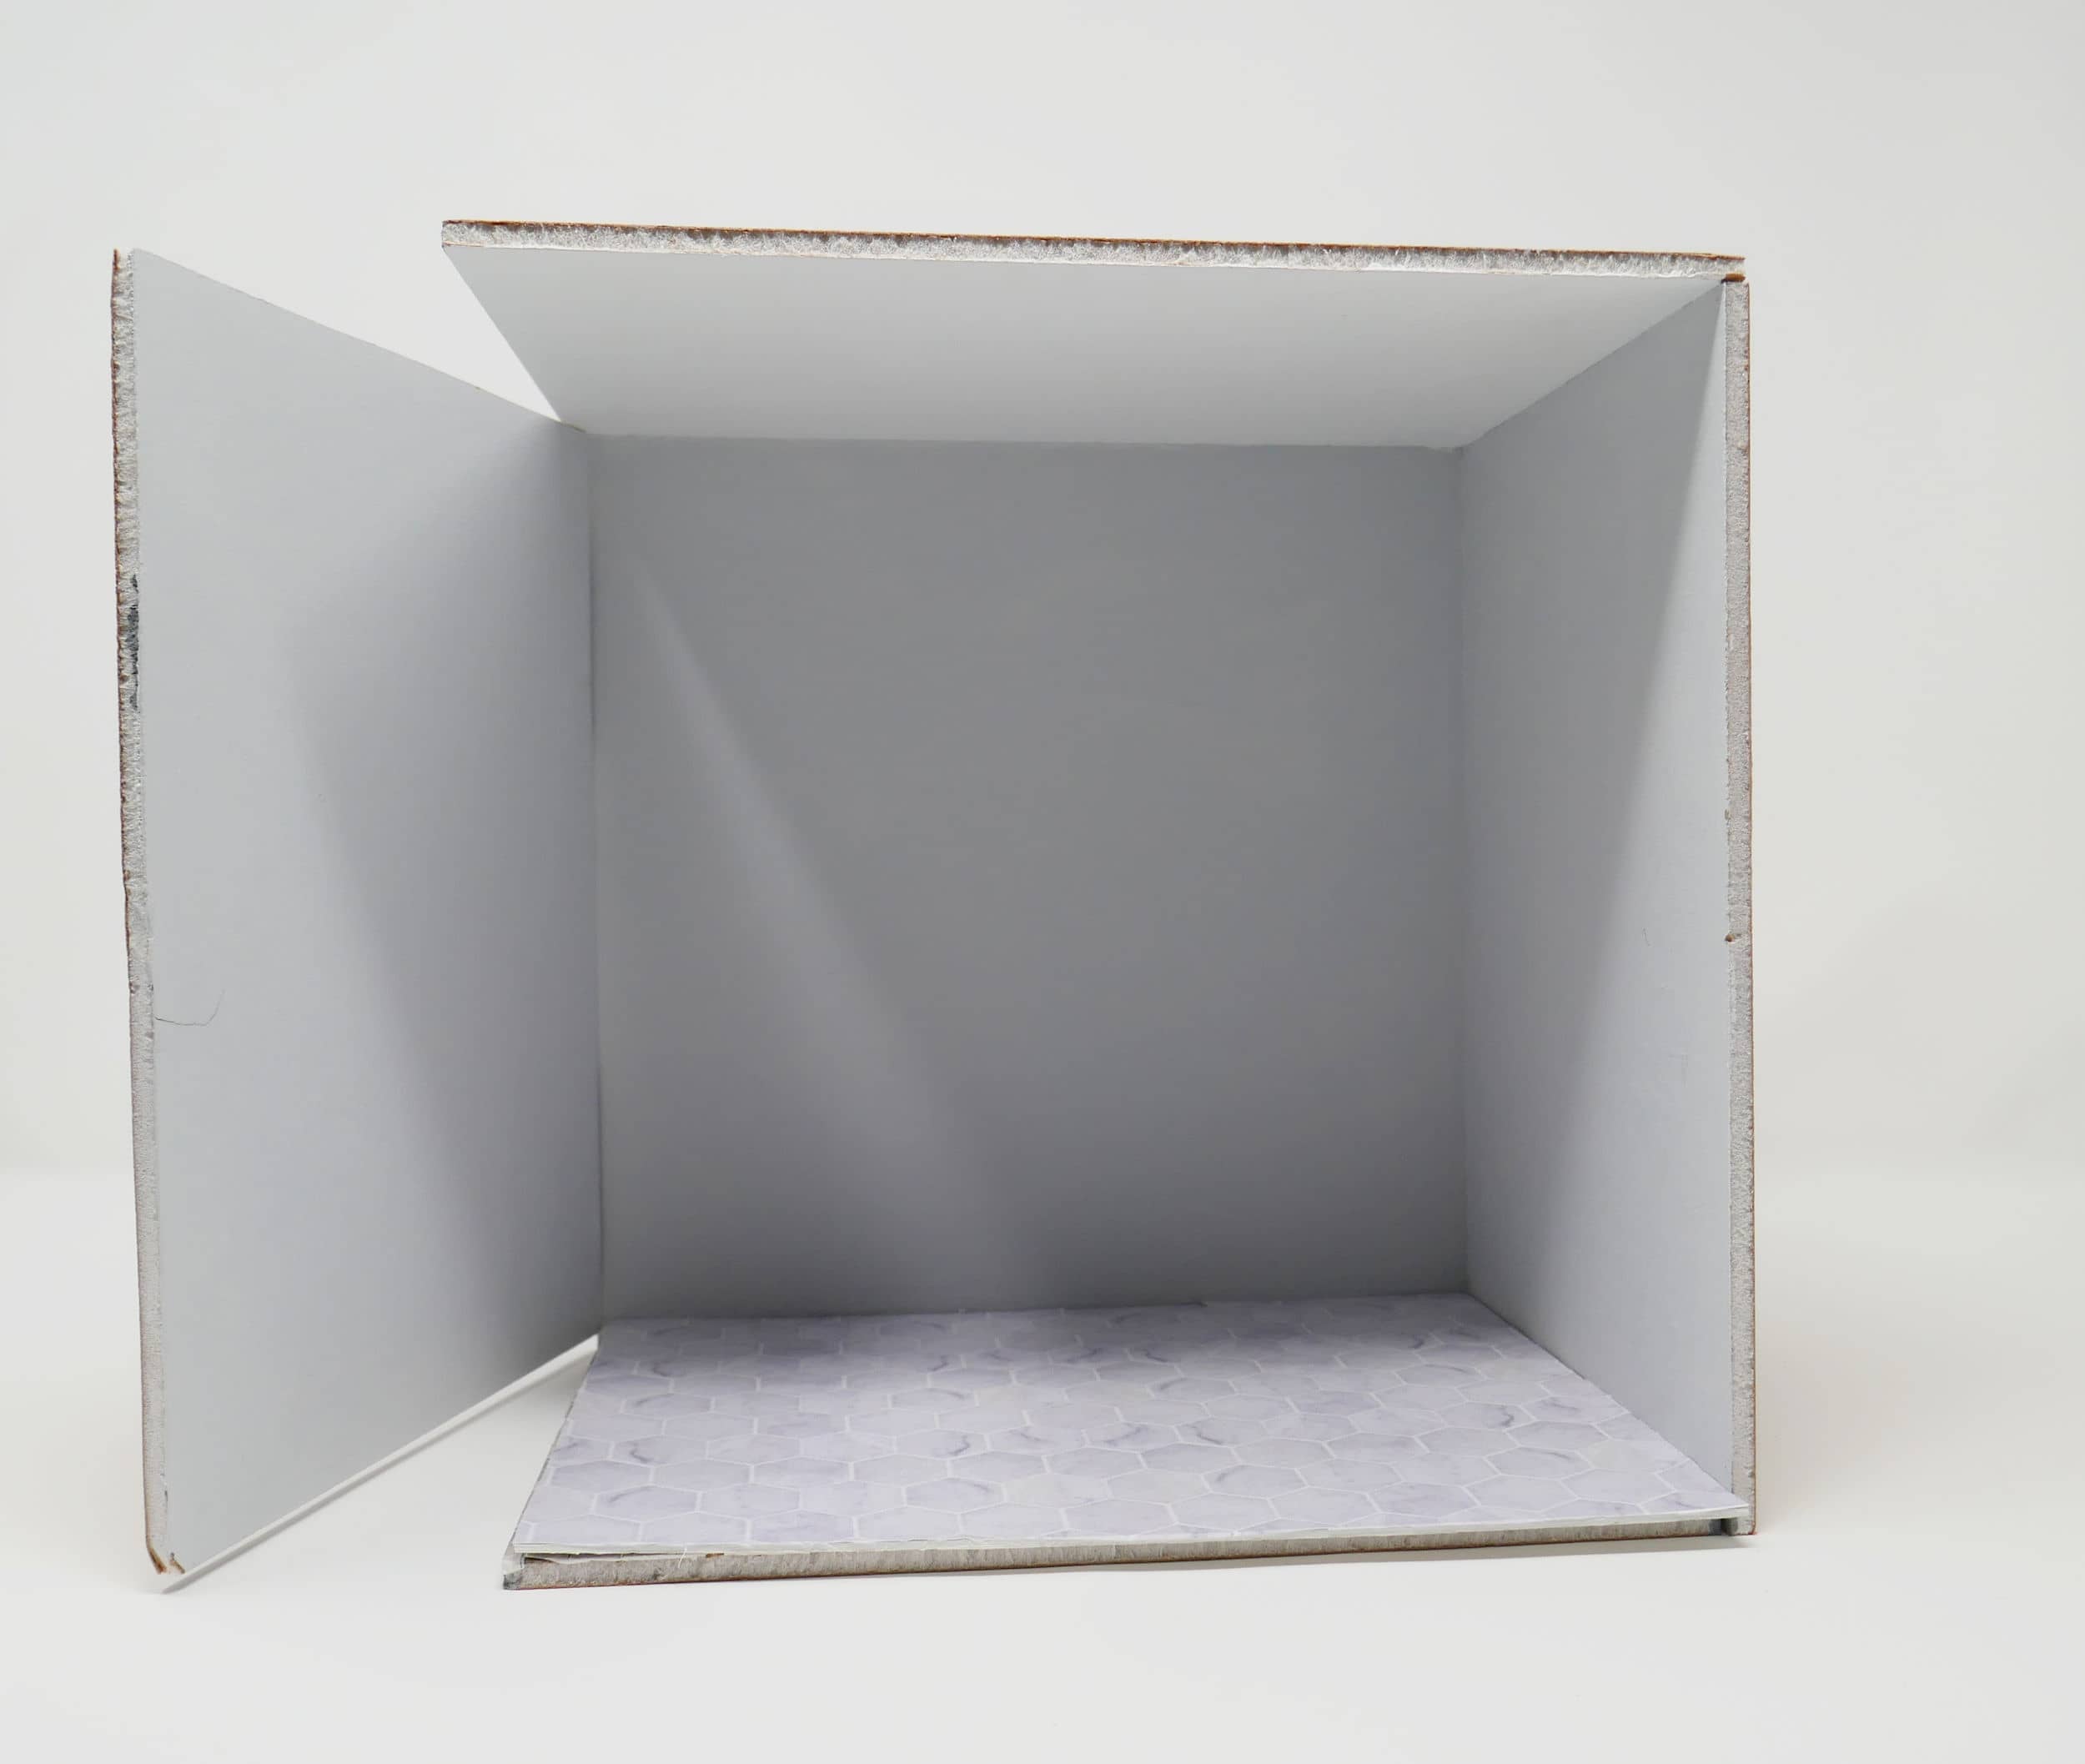
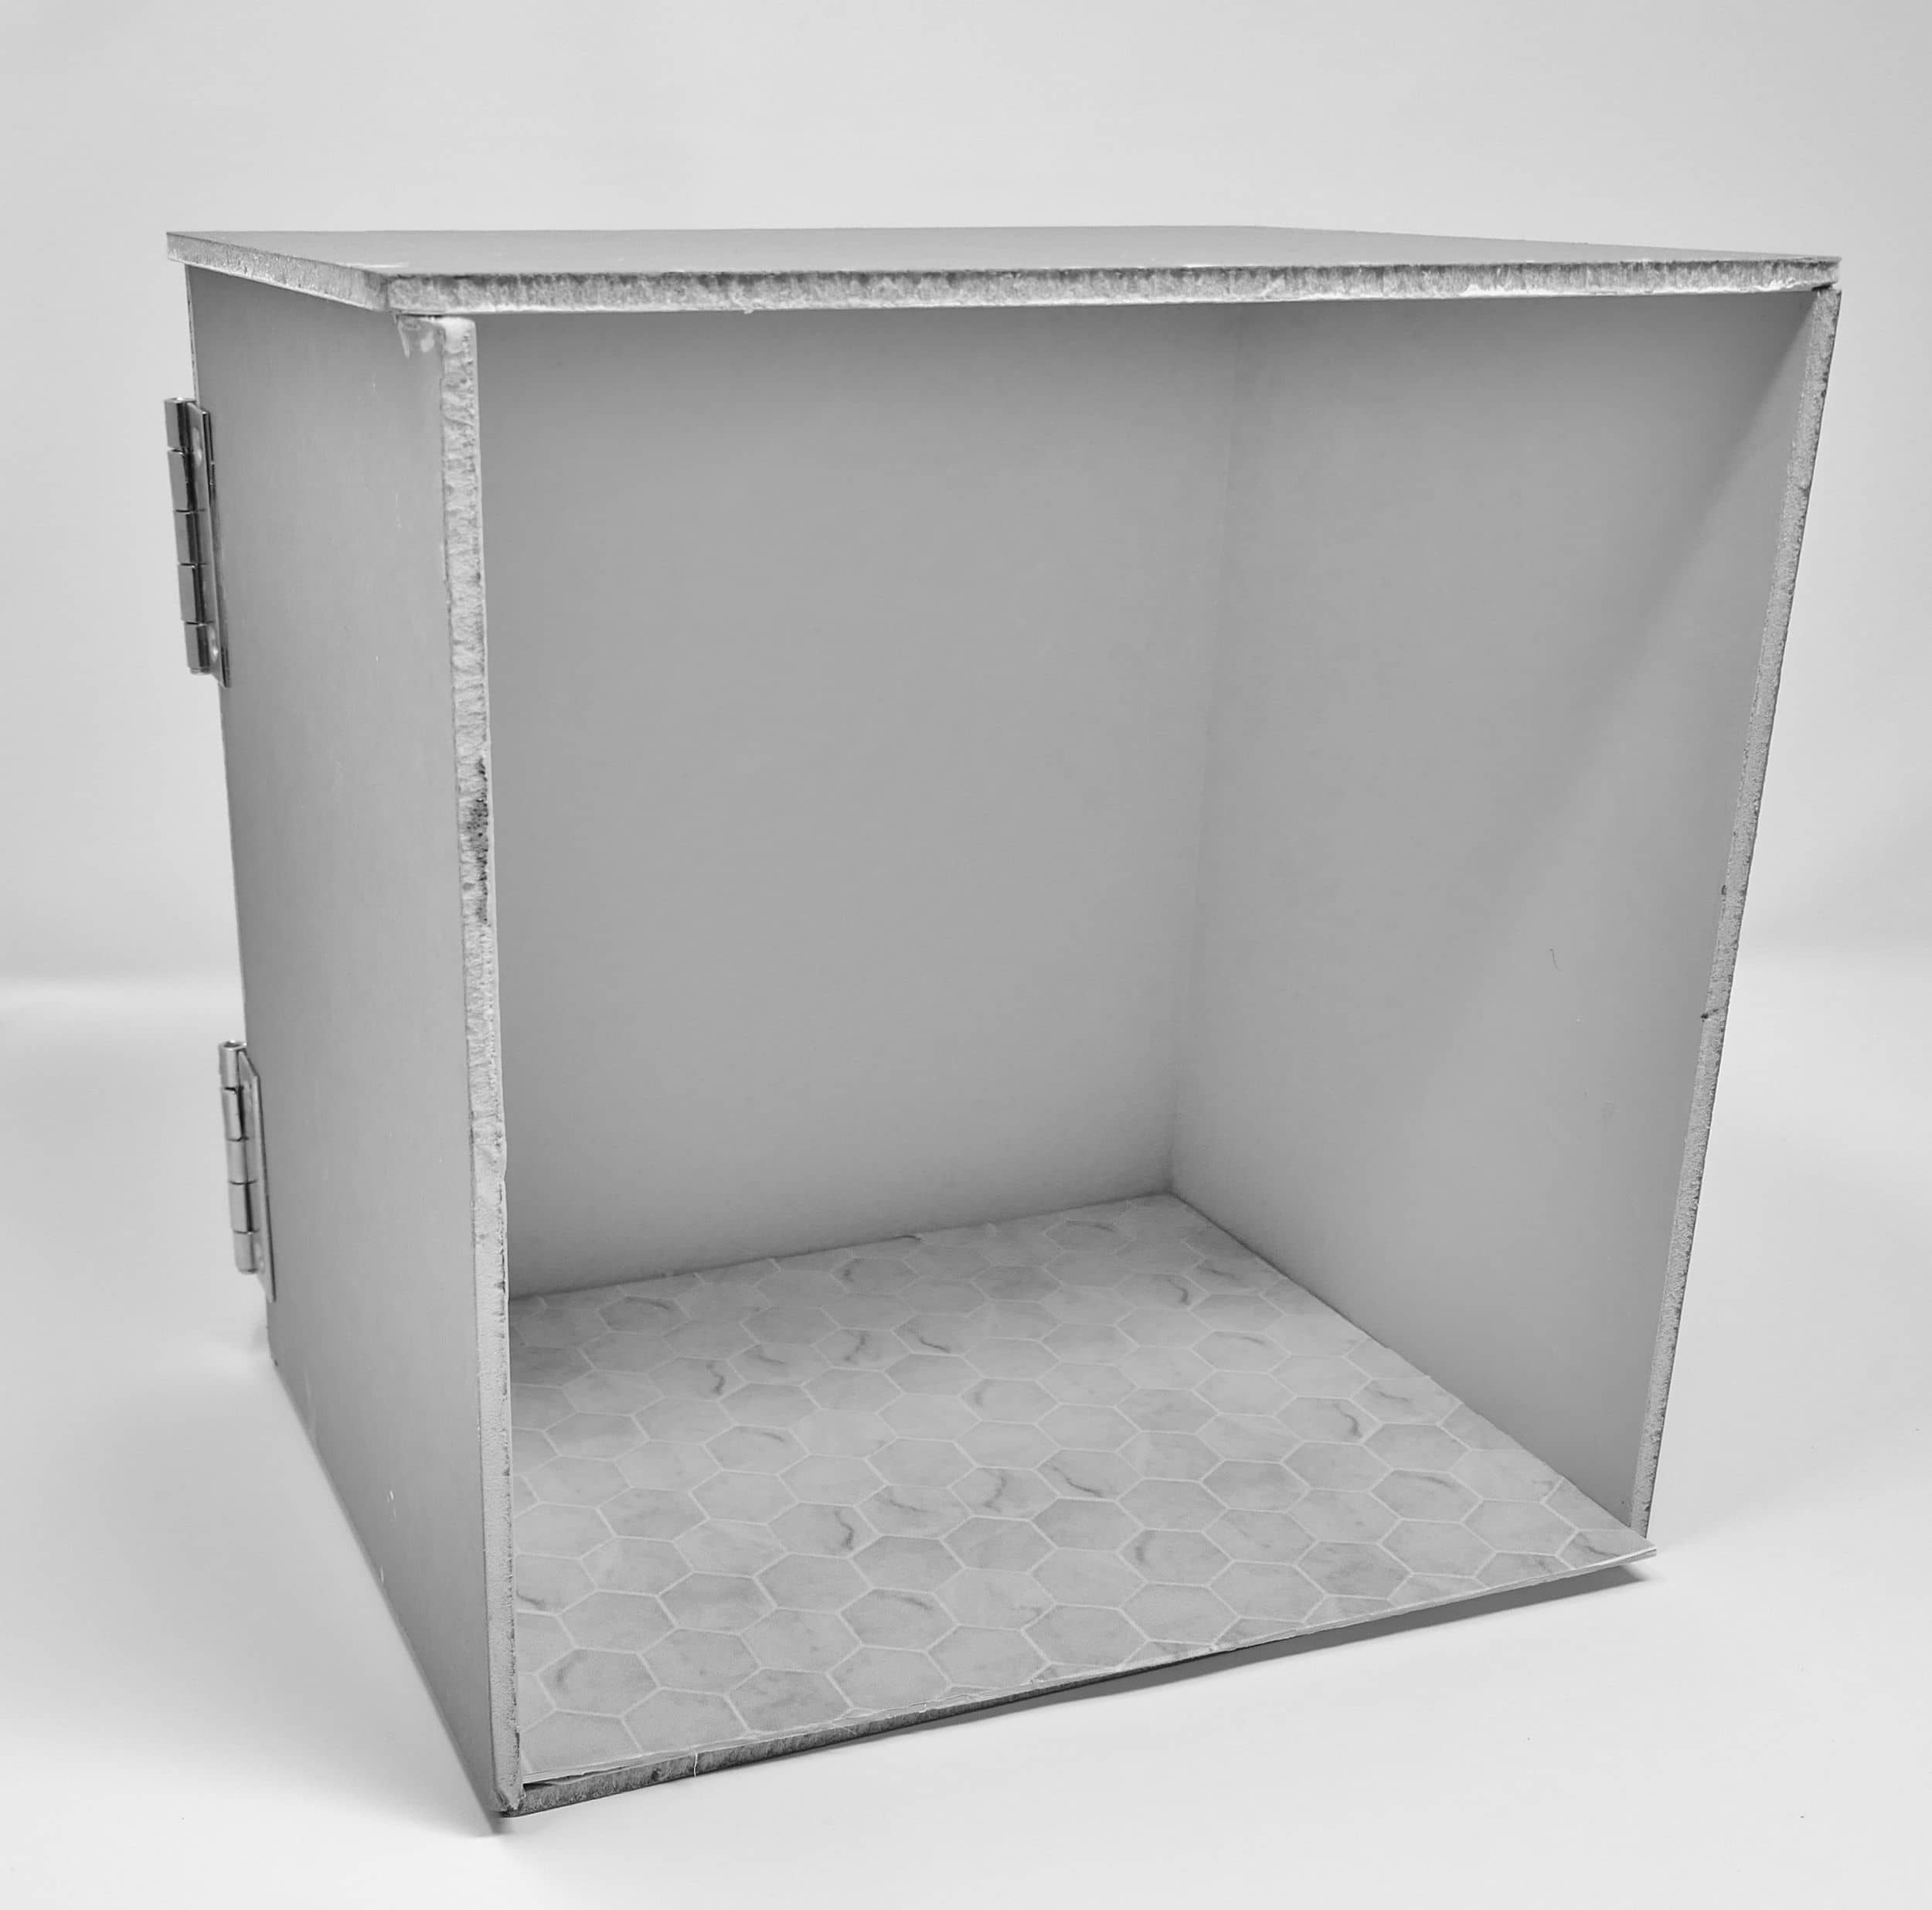
My friend and I had talked about a kitchen room box before her Mom passed away. When I saw a framed copy of her sugar cookie recipe, in her own handwriting, on my friend’s kitchen wall, I knew that would be the theme. “C” requested that I use red plaid cookbooks, and shades of gray and red for the interior.

(Click images for more details)

View As A Slideshow

The finished cookbook room box A view of the interior right side A straight on view of the interior Ingredients View from above Inside of box

The construction steps:


Hollowed out books Pageless books Cookbook shell Room box Inside box Wiring LED lights Kitchen table Pets
×
The finished cookbook room box

The finished cookbook room box.

A view of the interior right side

A view of the interior right side.

A straight on view of the interior

A straight on view of the interior.

Ingredients

Close-up of the ingredients on the worktable.

View from above

View from above.

Inside of box

Inside of box from the side that opens.

Hollowed out books

After the ends of the pages were glued together, the books were hollowed out with a bandsaw.

Pageless books

The pages of the plaid end cookbooks were removed along with their hardware. A box shell was made of wood to replace the pages so the space could be used for the separate finished kitchen box and the lighting.

Cookbook shell

A view of the hollowed out unfinished interior from the opened cover of the end cookbook.

Room box

The room box to be inserted into the cookbooks shell. It is made of Gatorfoam Board, with one side hinged. That is the side that corresponds with the end cover of the plaid cookbook that opens. It was made to fit into the shell, leaving enough space at one end for the wiring and batteries the lighting required.

Inside box

The inside box with the hinged side closed. I had printed out the tile flooring using my computer, and glued the print to the floor.

Wiring

The wiring running from the top of the box and down the side to the batteries.

LED lights

I then made the cabinets and a hood for the range. I painted the cabinets gray, and the hood black, with acrylic paints. I then installed the interior lights. They are LED lights that come in sets of five, and run off a 9-volt battery. I started out with 5 white lights, but they were too harsh. So, I added another set of 5 amber lights, and that balanced the light to normal. That is why there are two batteries used, one for each set. I decided to use this kind of lighting because my friend did not want a plug-in cord. I put the two on-off switches on the exterior of the book shell I’d built for the opening end cookbook. They are within easy reach. Because the end flap on the cookbook opens, the batteries are easy to get to. It is held shut with a cabinet magnet. There is a light in the hood.

Kitchen table

I spray painted the table red, filled the cabinets, and made the “marble” countertop and tabletop, using more computer printouts. I then filled the table with kitchen utensils, and the top with the ingredients for the sugar cookies. The butter and dough are made of Fimo. The flour scattered on the tabletop is baby powder. I used my computer to make the ingredient boxes and label printouts.

Pets

Because my friend has a dog and cat, I made pet bowls with resin water and Fimo food. I made an apron to hang on a hook, and a picture of “C” and her husband. There are pictures of her mother and father in the room too, and of course, the framed copy of her mother’s recipe.